7 Mechanical Keyboard Deep-Cleaning Tricks to Fix Spacebar Rattle

The Verdict
Let’s cut the fluff. If your spacebar sounds like a bag of marbles falling down a metal staircase, your keyboard isn’t broken—it’s just dirty and neglected. Most people think “rattle” means you need to buy expensive artisan stabilizers or sold-out lubricant. Wrong. 80% of the time, that hideous ticking noise is caused by grit grinding against the stabilizer wire or dried-up factory lube that has turned into cement. Deep cleaning isn’t just about hygiene; it is the absolute foundation of acoustics. You cannot achieve that creamy, thocky sound on a bed of Dorito dust and cat hair. These tricks focus on the intersection of hygiene and acoustic engineering to shut that spacebar up for good.
What exactly is “The Rattle”?
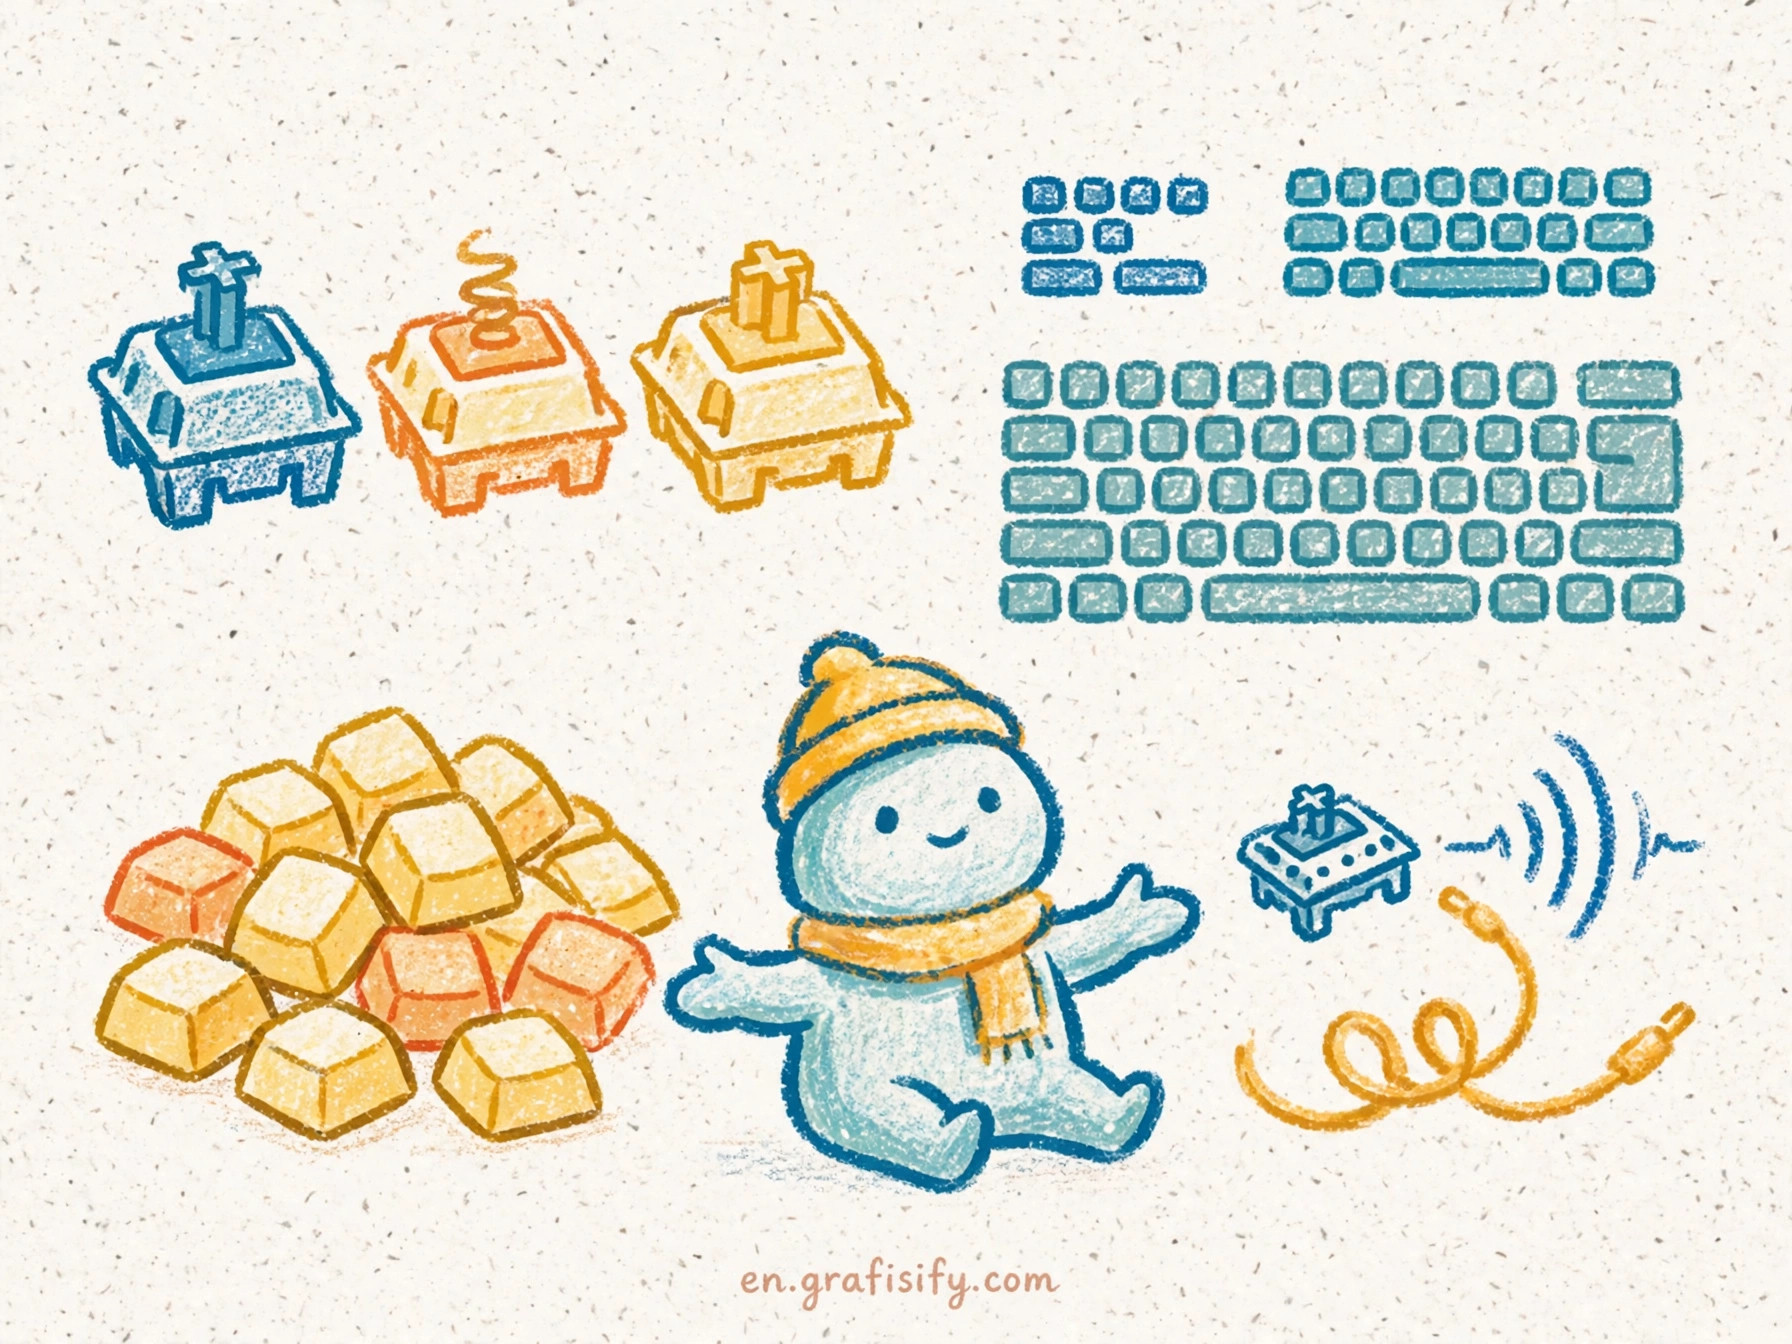
In the mechanical keyboard hobby, we chase the “Thock”—that deep, solid sound of plastic hitting plastic with zero reverberation. The enemy of Thock is Rattle. Rattle happens when the metal wire inside your stabilizers (the parts that keep the long keys balanced) hits the plastic housing because there is too much room to wiggle.
But here is the kicker that big tech sites miss: dirt exacerbates rattle. Dust absorbs the thin oils meant to cushion the wire, turning them into a sticky, abrasive paste that creates friction but offers no dampening. Before you go spending cash on new gear, you need to perform surgery on what you already own. We are going ngebut (full speed) into the nitty-gritty details of saving your stabilizers.

1. The Interdental Brush “Jailbreak” Scrub
You know those tiny little brushes dentists tell you to buy, but you never do? They are the MVP of stabilizer maintenance. Most people use Q-tips. Those people are amateurs. Q-tips leave cotton fibers behind, which get stuck in the grease and actually create more noise.
The Fix:
Buy a pack of 0.4mm interdental brushes. Dip them in 99% Isopropyl Alcohol. These brushes are flexible enough to snake inside the stabilizer housing without desoldering the switch. You can scrub out the old, caked-on factory lube (which is usually garbage quality anyway) from the corners where the wire clips in. This clears the runway for fresh lubricant. If you don’t clean the old gunk out first, adding new grease is like spraying perfume on a dumpster fire.
2. The “Hot Water” PBT Straightener
Sometimes, you can clean your board until it sparkles, and the rattle persists. Why? Because your spacebar itself is warped. PBT plastic is great for durability, but the cooling process often bends it like a banana. A bent spacebar pulls the stabilizer stems up unevenly, causing a tick that no amount of cleaning can fix.
The Fix:
This is old-school but works 100% of the time. Get a mug of boiling water. Dunk your spacebar (plastic only, obviously) in it for about 30 seconds. Pull it out, place it on a perfectly flat surface (like a glass table or granite counter), and put a heavy book on top of it while it cools. This “cleans” the structural integrity of the keycap. A flat bar sits flush, silencing the uneven rattle instantly.
3. The Syringe Injection flush
If you are too lazy to take the whole board apart (and honestly, who has the time to desolder 80 switches on a Tuesday?), you need the Syringe Flush. This is a method to clean and re-lube simultaneously.
The Fix:
Use a plastic syringe with a curved tip. Fill it with a tiny bit of dielectric grease. But before you inject the good stuff, blast the stabilizer entry points with compressed air to dislodge debris. Then, inject the grease directly onto the wire through the small gap in the housing. It pushes the remaining dust to the back (where it can’t hurt anyone) and creates a fresh acoustic barrier. It’s a bit messy, but it’s the quickest way to silence a board that sounds like a maraca.
4. The “Tape Trick” for Loose Stems
Rattle often comes from the keycap stem being looser than the stabilizer insert. When you hit the spacebar, the keycap lifts, but the stabilizer lag behinds for a millisecond before slapping upward. Clack. Rattle.
The Fix:
This is technically a cleaning trick because you need a pristine surface for it to stick. Clean the stabilizer stems with alcohol to remove any oils. Cut a tiny, microscopic square of masking tape or scotch tape. Place it over the top of the stabilizer stem (the plus shape). Press the spacebar keycap down over it. The tape acts as a shim, filling the gap. The result? The connection is airtight. The vibration vanishes. It’s an overkill solution for a microscopic problem, but the silence is deafening.
5. The PCB “Dust Bunny” Hunt
Here is a nightmare scenario: You press the spacebar, and you hear a crunch. That is not rattle; that is a crumb living under your stabilizer wire. The wire needs to rotate freely. If there is a barrier of hair or crumbs under it, the wire hits the debris instead of bottoming out smoothly.
Also Read:
The Fix:
Remove the spacebar. Don’t just blow air at it. Take a firm, anti-static brush and aggressively sweep the PCB area directly under the stabilizer wire. If you have a hotswap board, take the switch out to get better access. You’d be shocked at the amount of solidified grime that accumulates right under that metal bar. Cleaning this landing pad allows the wire to hit the PCB (or the band-aid mod you placed there) with a solid thud rather than a gritty crunch.
6. The Dielectric Grease “Plug”
This is for when you’ve cleaned everything and the wire still has too much room to move inside the plastic housing. The tolerance on cheap keyboards is often sloppy. We need to fill that void.
The Fix:
After cleaning the housing with your interdental brush (Trick #1), load a small brush with a heavy amount of dielectric grease (Permatex is the gold standard). You aren’t just lubricating here; you are packing the hole. You want to create a “plug” of grease at the end of the wire. This absorbs the impact energy. It’s the difference between tapping a spoon on a table and tapping a spoon into a tub of vaseline. If you need tools for this, check out our recommendations in the Gadgets & Gear section for precision kits.
7. The Contact Cleaner Blast (Last Resort)
If your stabilizers are sticky, sluggish, and rattling all at once, you likely have a mix of spilled soda and old lube. It’s a disaster zone. You need the nuclear option.
The Fix:
Electrical Contact Cleaner (ensure it is plastic safe!). Take the keycap off. Shield the surrounding keys with a cloth. Spray a quick burst into the stabilizer housing. Press the stabilizer stem up and down rapidly. The cleaner dissolves the gunk and evaporates instantly. Warning: This strips everything. Your stabilizer will be bone dry and rattle like crazy for about 5 minutes. You MUST immediately follow this up with fresh lube. This is the “reset button” for when your keyboard is absolutely gacor in the worst way possible.
Pros and Cons of Deep Cleaning Stabilizers
- Pros:
- Acoustic Nirvana: Eliminates the high-pitched ticking that drives enthusiasts insane.
- Smoothness: Removes the gritty feeling on the downpress.
- Longevity: Prevents plastic erosion caused by abrasive dust.
- Cost: Costs practically $0 compared to buying new Durock or tx stabs.
- Cons:
- Time Consuming: This isn’t a 5-minute job. It requires patience.
- Risk of Over-lubing: If you put too much grease in, the key becomes “mushy” and slow to rise.
- Messy: Dielectric grease gets everywhere if you aren’t careful.
Final Thoughts
Look, maintaining a mechanical keyboard is a relationship. You get out what you put in. You can buy the most expensive aluminum chassis and GMK keycaps in the world, but if your spacebar stabilizers are full of three-year-old cookie crumbs and dried factory oil, the whole experience is ruined. It’s like putting a Ferrari engine in a rusted-out Honda Civic.
Take an afternoon. Grab some isopropyl alcohol, a brush, and some heavy grease. Treat your stabilizers with respect. The first time you hit that spacebar and hear a deep, solid THOCK instead of a cheap plastic rattle, you’ll understand why we obsess over this stuff. It’s satisfying, it’s necessary, and frankly, your ears deserve better.

Irfan is a Creative Tech Strategist and the founder of Grafisify. He spends his days testing the latest AI design tools and breaking down complex tech into actionable guides for creators. When he’s not writing, he’s experimenting with generative art or optimizing digital workflows.



 Artificial Intelligent
 Design & Creative
 Freelance
 Gadgets & Gear
 Insights
 Laptop
 Reviews
 Smartphone
 Tech Guides
 Vibe Coding