How to Deploy Web App From Replit to Custom Domain Step by Step: The Ultimate Vibe Coding Guide

Let’s be real for a second. Vibe coding has completely changed the landscape. You used to need a degree in computer science to get a “Hello World” on the screen, but now? Now you can prompt your way to a fully functional SaaS product in an afternoon. It’s a total game-changer. But there is one massive bottleneck that every beginner hits eventually.
You’ve built this incredible thing. It works. It looks gacor. But it’s stuck living on a clunky, generated URL that looks like a Wi-Fi password. Nobody trusts a business link that ends in .replit.dev or has forty random characters in the slug. If you want to be taken seriously, you need your own digital real estate.
That’s exactly why you’re here. You need to know how to deploy web app from replit to custom domain step by step so you can finally share your creation with the world properly. Truth is, Replit has evolved from a simple online IDE into a legitimate deployment powerhouse, but the interface can be a bit tricky if you don’t know where to look. In this guide, we aren’t just skimming the surface; we are diving deep into the nitty-gritty of DNS records, CNAME configurations, and SSL certificates.
The Verdict: Is Replit Deployment Worth It?
Before we get our hands dirty, let’s address the elephant in the room. Should you actually host on Replit? Honestly, for 90% of “vibe coders” and early-stage startups, the answer is a resounding yes. It removes the friction of setting up a separate VPS (like DigitalOcean) or wrestling with AWS permissions. It’s integrated, it’s fast, and it keeps your code and production environment in one place.

Why Learning How to Deploy Web App From Replit to Custom Domain Step by Step Matters
Think about the last time you clicked a link. Did it look legitimate? Custom domains are the currency of trust on the internet. By mastering how to deploy web app from replit to custom domain step by step, you are essentially graduating from “hobbyist” to “developer.”
Here is what you get when you ditch the default subdomain:
- Instant Credibility: A
.comor.iosignals that you’ve invested in your project. - Better SEO: Search engines prefer stable, clean URLs over dynamic, generated ones.
- Brand Identity: You control the narrative from the very first interaction.
Prerequisites: What You Need Before We Start
Don’t just jump in blindly. To successfully follow this guide on how to deploy web app from replit to custom domain step by step, ensure you have the following ready to roll:
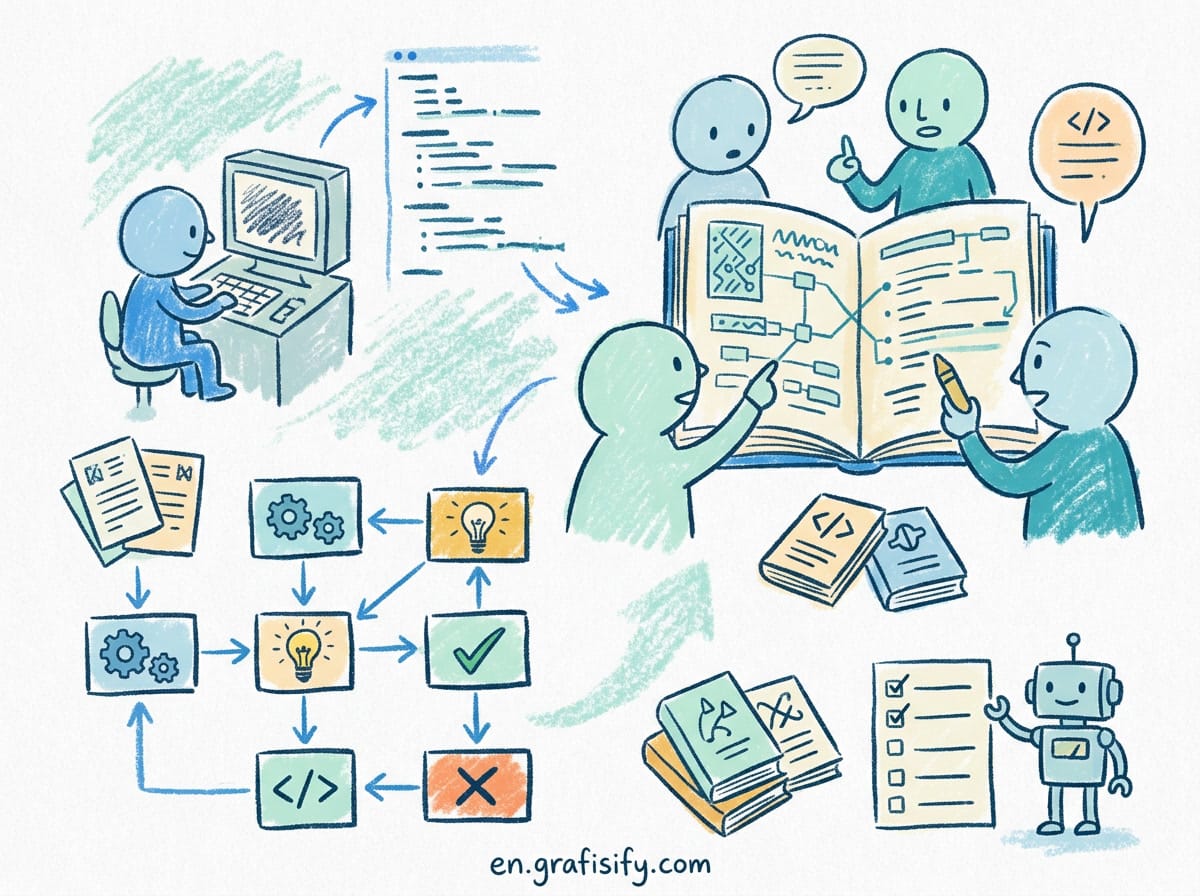
- A Replit Project: Obviously. Ideally, one that runs on a web server (Node.js, Python Flask/Django, Go, etc.).
- Replit Core (Optional but Recommended): While you can do some testing on free tiers, persistent deployments and easier domain linking often require a Core membership or paid deployment credits. Replit’s model changes frequently, so keep an eye on your “Cycles” wallet.
- A Domain Name: Bought from a registrar like Namecheap, GoDaddy, or—my personal favorite for DNS management—Cloudflare.
Step 1: Preparing Your Replit Project for Production
Here is where many people mess up and get the dreaded “502 Bad Gateway.” Your app needs to listen on the correct port. By default, Replit looks for port 0.0.0.0 on port 3000 or 8080.
If you are using Python (Flask), ensure your run command looks something like this:
app.run(host='0.0.0.0', port=8080)If you are on Node.js, make sure you aren’t hardcoding localhost. It needs to be open to the container’s internal network. Once your code is running without errors in the preview window, you are ready for the next phase of learning how to deploy web app from replit to custom domain step by step.

Step 2: Initiating the Deployment
Forget the “Run” button. That is for development. For production, we need the “Deploy” pane.
- Look at the top right corner of your Replit editor. You’ll see a button labeled Deploy. Click it.
- You will be presented with options like “Autoscale” or “Reserved VM.”
- For Beginners: Choose Autoscale. It scales down to zero when no one is using it (saving you money) and scales up when traffic hits. It’s the most cost-effective way to start.
- Configure your Build and Run commands. Replit usually guesses these correctly, but double-check them.
- Hit Deploy. Watch the logs. If you see green checkmarks, we are in business.
For more insights on tech configurations, check out our guides at Grafisify Tech Guides to keep your skills sharp.
Step 3: Configuring the Custom Domain
This is the meat and potatoes of the guide. Once your deployment is live (giving you that generic replit.app link), look for the Settings or Custom Domains tab within the deployment pane. It’s sometimes hidden under a “pencil” icon or a settings gear depending on the UI update.
1. Enter your domain name (e.g., www.mycoolapp.com or just mycoolapp.com).
2. Replit will generate a set of DNS records for you. Usually, this is a CNAME record.
Step 4: DNS Management (The Tricky Part)
Now, leave Replit open and open a new tab for your Domain Registrar (where you bought your domain). This is the crucial moment in understanding how to deploy web app from replit to custom domain step by step.
Scenario A: Using a Subdomain (www)
This is the easiest path.
– Type: CNAME
– Name/Host: www
– Value/Target: [The link Replit gave you, usually ending in .replit.app]
Scenario B: Using the Root Domain (no www)
Many registrars don’t support CNAME on the root domain (APEX records). If you are using Cloudflare, you are lucky because they support “CNAME Flattening,” which allows this. If your registrar is archaic, you might need to use an A Record provided by Replit (if available) or simply redirect the root domain to the www version.
Pro Tip: Use Cloudflare. It handles SSL and CNAME flattening automatically, making this process a no-brainer.
External Reference for DNS
If you are confused about what a CNAME is, Cloudflare’s documentation on DNS records is the gold standard for explaining this architecture.
Step 5: SSL and Verification
Once you’ve saved your DNS records, head back to Replit. Click the “Verify” button.
Warning: DNS propagation can take anywhere from 5 minutes to 48 hours. Don’t panic if it doesn’t work instantly. Go grab a coffee. When you come back, if the status is green, Replit will automatically provision an SSL certificate (HTTPS) for you. Your site is now secure.
Troubleshooting: When Things Go “Boncos”
Even when you follow instructions on how to deploy web app from replit to custom domain step by step perfectly, things break. It happens.
- “Not Secure” Warning: This usually means the SSL certificate hasn’t finished generating. Give it 15 minutes.
- Looping Redirects: If you are using Cloudflare, make sure your SSL/TLS setting is set to Full or Full (Strict). If it’s set to “Flexible,” it often conflicts with Replit’s internal SSL, causing an infinite loop.
- 502 Bad Gateway: Your app crashed. Check the deployment logs. Did you forget to install a dependency? Is
package.jsonmissing a start script?
Why This is a Game-Changer for Vibe Coding
Vibe coding isn’t just about generating code; it’s about speed to market. By using Replit’s deployment pipeline, you bypass the complexity of Docker containers and Kubernetes clusters. You stay in the flow. You prompt the AI, you edit the code, you hit deploy. That’s it.
It empowers creators who aren’t “engineers” to ship engineering-grade products. And honestly? That disrupts the whole industry.
Final Thoughts
Learning how to deploy web app from replit to custom domain step by step is the bridge between a cool experiment and a real startup. It might seem intimidating with all the DNS jargon, but once you do it once, it becomes second nature.
So, stop letting your projects rot in the “My Repls” folder. Get them out there. Attach a domain. Build your brand. The internet is waiting for what you’ve cooked up.
Tagged with:
beginner coding guidecustom domain setupDNS configurationReplit deploymentvibe codingweb development tutorial
Irfan is a Creative Tech Strategist and the founder of Grafisify. He spends his days testing the latest AI design tools and breaking down complex tech into actionable guides for creators. When he’s not writing, he’s experimenting with generative art or optimizing digital workflows.




 Artificial Intelligent
 Design & Creative
 Freelance
 Gadgets & Gear
 Insights
 Laptop
 Reviews
 Smartphone
 Tech Guides
 Vibe Coding