Do Monitor Light Bars Reduce Eye Strain? Buying Guide
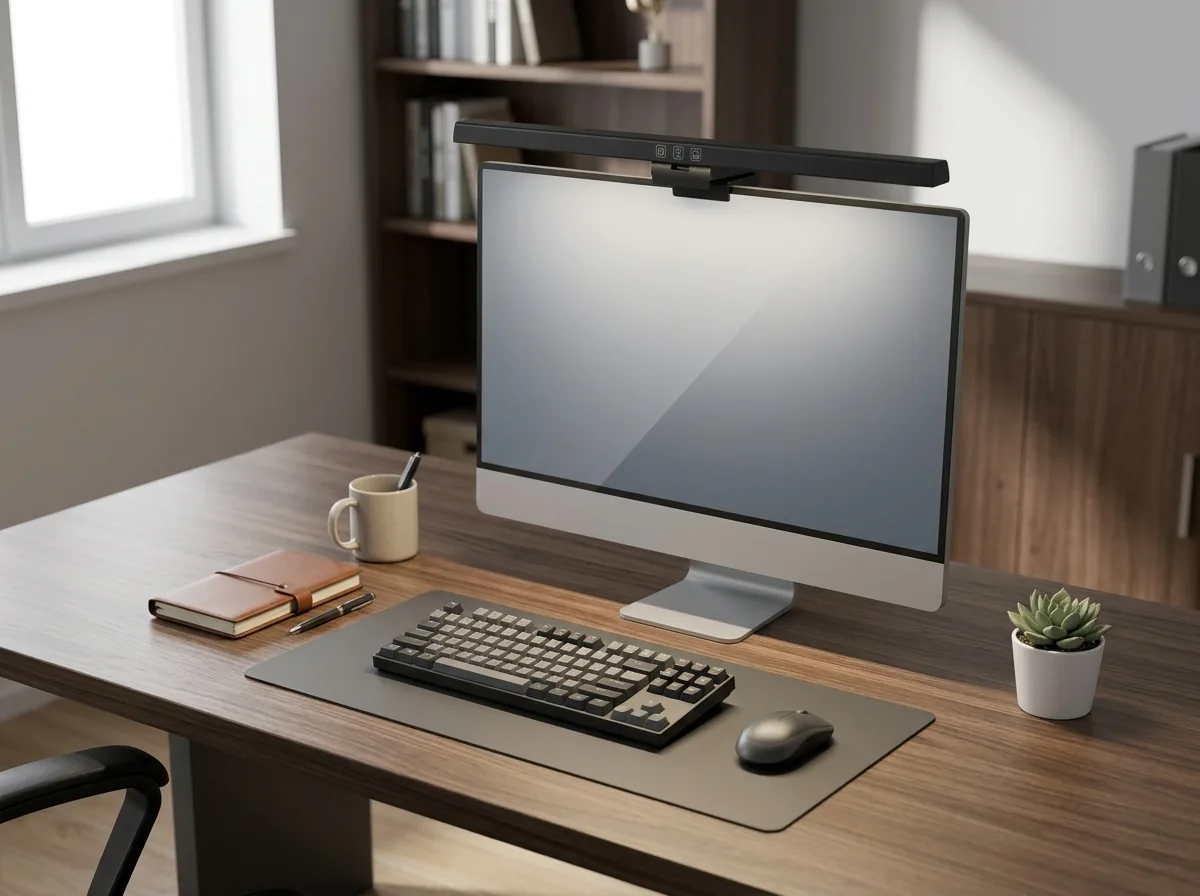
If you spend more than a couple of hours a day in front of a screen, your workspace lighting is doing more damage than you realize. The constant contrast between a bright monitor and a dim room forces your pupils to adjust hundreds of times an hour, and that’s the main driver of digital eye strain. A monitor light bar attacks that exact problem. Here’s the short version: yes, a monitor light bar reduces eye strain, but only if you pick one with proper asymmetrical optics and set it up correctly. This guide explains why they work, what specs actually matter, and which models are worth your money at every budget.
Why Screens Make Your Eyes Work Too Hard
Digital eye strain is not imaginary. The Vision Council surveyed American adults and found that more than 80 percent use digital devices for over two hours a day, and nearly 60 percent report symptoms like eye strain, headaches, and blurred vision. Younger adults report the highest rates, which makes sense: they spend the most time glued to screens.
The mechanism is simple. Your eyes adapt to whatever they see, and when a bright screen sits in a dark or unevenly lit room, the contrast forces your pupils to dilate and contract constantly. That continuous effort tires the focusing muscles, which is why eye fatigue usually peaks in the late afternoon. A lamp on the far side of the desk doesn’t fix this because the light never reaches the area your eyes actually care about: the strip of desk directly in front of the monitor. The Vision Council’s research on digital eye strain in the multi-screen era spells out how widespread the problem has become.
I used to work in a room where the overhead light was behind me, so my screen was bright while everything else faded into shadow. By 9 PM my eyes felt gritty and I was squinting at text I could read perfectly in the morning. The fix wasn’t a bigger monitor or stronger glasses. It was balancing the light around the screen.

How a Monitor Light Bar Actually Helps
A monitor light bar mounts on the top edge of your display and shines light downward onto your desk, not onto the screen. That sounds trivial, but the optical design is what separates a useful light bar from a gimmick.
Good light bars use asymmetrical optics. The lens is shaped so the beam spreads across your desk at a fixed angle and stops at the bezel edge, creating zero reflection on the panel. Cheaper lamps throw symmetrical light in every direction, which lands on the glass and produces the exact glare you’re trying to remove. If a product listing doesn’t mention asymmetrical or non-glare optical design, treat it with suspicion. BenQ’s ScreenBar Halo product page explains the asymmetrical design and its flicker-free, IEEE PAR 1789 compliant driver in detail.
There are two other specs worth understanding:
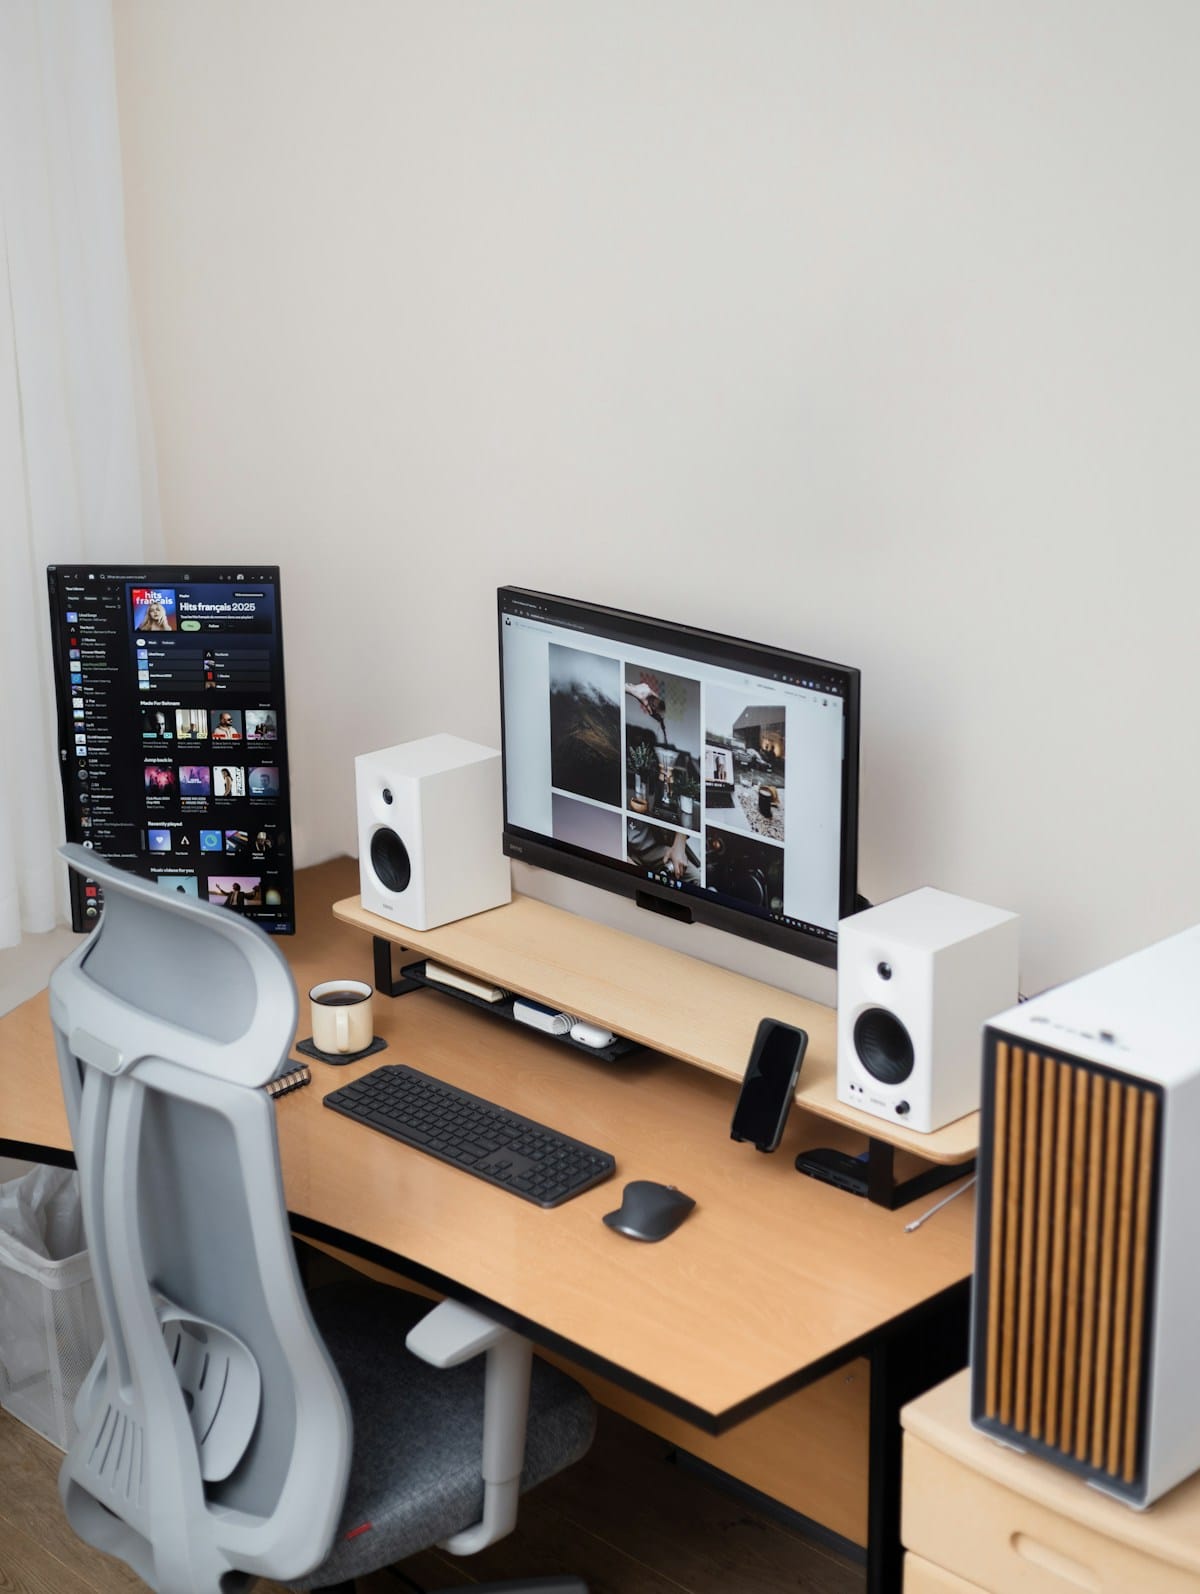
- Lux target. The American National Standard for office lighting recommends around 500 lux at the working surface. Good light bars are designed to hit that number across a zone wide enough to cover your keyboard and any papers in front of you. BenQ, for example, publishes its coverage at 500 lux: the ScreenBar Halo reaches 63 by 40 cm and the ScreenBar Pro covers 85 by 50 cm.
- Flicker. PWM dimming makes cheap LEDs flicker at frequencies your eyes can’t consciously detect but your brain still processes, which adds to fatigue. Quality light bars are flicker-free and some, like the BenQ ScreenBar Halo, pass the IEEE PAR 1789 standard for LED safety.
Color temperature matters too. Warmer light around 2700K suits evening work, while cooler light around 6500K supports focus during the day. Any light bar worth buying lets you adjust both brightness and color temperature, ideally steplessly instead of jumping between three presets.
What to Look For Before You Buy
Not every monitor light bar deserves a spot on your desk. Run any candidate through these five checks before spending money.
| Check | Why It Matters | What to Look For |
|---|---|---|
| Asymmetrical optics | Prevents glare and screen reflection | Explicit non-glare design, no wash across the panel |
| Brightness and coverage | Determines whether your whole work area is lit | 500 lux rating across keyboard plus document width |
| Color temperature range | Lets you match light to time of day | 2700K to 6500K, stepless adjustment |
| Flicker-free driver | Reduces hidden fatigue | IEEE PAR 1789 compliance or explicit flicker-free claim |
| Monitor compatibility | Ultra-thin and curved displays need special mounts | Clamp range that matches your bezel thickness |
Build quality follows price, but not as tightly as you’d think. Budget bars under $40 can still deliver true asymmetrical optics; what they sacrifice is light quality refinement, control feel, and longevity. If you work more than four hours a day at a monitor, spending more on the light makes sense, because you’re paying for components that stay consistent for years.
Also Read:

Best Monitor Light Bars for Every Budget
I grouped the market into three tiers based on real-world testing from sources that actually mount these things on their own monitors, plus manufacturer specs. Workspace-focused reviewers like The Workspace Hero and the Atriarch testing lab have run side-by-side comparisons of the popular models, and their findings line up with the specs below. Prices are approximate and change often, so treat them as ranges.
| Model | Tier | Key Features | Approx. Price |
|---|---|---|---|
| BenQ ScreenBar Halo | Premium | Rear bias light, wireless controller, auto dimming to 500 lux, curved monitor support | $179 |
| BenQ ScreenBar Pro | Premium | Ultrawide beam, motion sensor, USB-C, fits 1000-1800R curved screens | $150+ |
| BenQ ScreenBar (original) | Mid-range | Auto dimming, CRI 95, 2700-6500K, integrated touch controls | $100 |
| Quntis Monitor Light Bar | Budget | Auto dimming, Ra98, clip mount, under $40 | $30-40 |
| Xiaomi Mi Light Bar | Budget | Magnetic mount, wireless remote, Ra95 | $30-50 |
If you want the reference experience, the BenQ ScreenBar Halo remains the benchmark. It adds a rear bias light that illuminates the wall behind your monitor, which balances the entire field of view rather than just the desk. Its wireless controller feels genuinely premium, and BenQ publishes real test data instead of vague marketing claims. The downside is the price, which sits near $180.

The original BenQ ScreenBar is the smarter buy for most people. You keep the asymmetrical optics, auto dimming, and the high color rendering index, and you drop the rear light and the wireless controller. I ran this exact model for two years before upgrading, and the only thing I missed was the separate controller.
On the budget side, the Quntis line consistently shows up in testing roundups as the value pick. It delivers true non-glare optics, auto dimming, and a color rendering index around Ra98 at roughly a fifth of the BenQ Halo’s price. Small caveat: some units report mild flicker at specific dimming levels, and the puck remote eats coin cell batteries. None of that is a dealbreaker at $35.
Before you buy, double-check the clamp range against your monitor’s bezel. Ultra-thin monitors and heavily curved ultrawides are the two cases that break compatibility. BenQ ships spacers for thin displays and curved-monitor accessories, while most budget bars just won’t fit a 1500R curve properly.
Setup Tips: Avoid These Common Mistakes
A great light bar mounted wrong performs worse than a mediocre one mounted right. Four mistakes cause most of the disappointment I see:
- Placing it too far forward. The bar should sit flush on the top bezel so the beam angle lands on the desk, not on the screen edge. If you see a bright line across your display, push the bar back until it disappears.
- Ignoring webcam space. Light bars occupy the spot where most webcams live. If you do video calls, check whether the bar has a mounting ledge or clearance for a webcam on top. BenQ sells a webcam accessory for the Halo, and some users simply balance the webcam on the bar itself.
- Leaving auto dimming off. The ambient sensor is the feature you’ll appreciate most over time. It adjusts the light as daylight fades, so you never notice the transition between afternoon sun and evening desk lighting.
- Buying a symmetric-light bar. This is the trap. A bar with ordinary lenses will reflect off your glossy screen and undo the entire benefit. Check for asymmetrical or non-glare optics before checkout, not after.
One more thing: a monitor light bar complements, not replaces, the rest of your workspace. Pair it with good ambient lighting in the room and, if you’re building out a full setup, a sensible arrangement of your other gear. If you’re cleaning up cable clutter, check our guide to the best docking stations for a clean desk setup, and if you move between workspaces, our roundup of portable monitors for remote work and travel covers the other half of a mobile setup. A light bar also pairs naturally with an ergonomic mechanical keyboard if you’re reworking the whole desk, and if you’re starting from scratch, our minimalist desk setup ideas show how little you actually need.
Frequently Asked Questions
Do monitor light bars actually reduce eye strain?
Yes, when the design is right. The benefit comes from balancing screen brightness against the surrounding workspace, which stops your pupils from constantly adjusting. Independent testing since 2024 consistently shows measurable relief in end-of-day fatigue.
Can I use a regular desk lamp instead?
You can, but it’s less effective. A desk lamp pointing from the side lights the desk without properly balancing the area directly in front of the monitor, and most create glare on the screen. A light bar solves the geometry problem by design.
Will a monitor light bar fit my curved or ultra-thin monitor?
Only if the clamp range matches your display. Budget bars generally fit flat monitors with bezels between about 0.4 and 1.2 inches. Curved displays need accessories, which only premium brands like BenQ include or sell.
How much should I spend?
You can get real eye-strain benefits at $30 to $40 with brands like Quntis and Xiaomi. Spending above $100 mainly buys better light quality, wireless controllers, motion sensors, and longer lifespan. Base the decision on how many hours a day you actually sit at the monitor.
Key Takeaways
- Monitor light bars reduce eye strain by balancing screen and desk brightness, eliminating the contrast that drives eye fatigue.
- Asymmetrical optics are non-negotiable; anything else reflects off the screen and adds glare.
- Target a 500 lux working surface with flicker-free LEDs and a 2700K to 6500K color temperature range.
- Budget bars under $40 deliver the core benefit; premium bars add light quality, controllers, and compatibility with curved monitors.
- Check clamp compatibility and webcam clearance before purchase, and keep the bar flush on the top bezel.

Final Thoughts
A monitor light bar is one of the cheapest upgrades you can make to your daily comfort, and it doesn’t require replacing anything you already own. The science behind it is straightforward: balanced light means less pupil strain, and less strain means fewer headaches and less fatigue at the end of the day.
Start with your actual needs. If you work on a standard flat monitor and just want the eye-strain benefit without spending much, a Quntis or Xiaomi bar gets you 80 percent of the value. If you run a curved ultrawide, want a wireless controller, or spend six-plus hours a day at the desk, the BenQ ScreenBar line is worth the premium. Measure your bezel, check the webcam situation, and pick the bar that fits your monitor, not just the one with the best reviews.
Your eyes do the work either way. The light just decides how hard they have to try.

Irfan is a Creative Tech Strategist and the founder of Grafisify. He spends his days testing the latest AI design tools and breaking down complex tech into actionable guides for creators. When he’s not writing, he’s experimenting with generative art or optimizing digital workflows.
 Artificial Intelligent
 Design & Creative
 Freelance
 Gadgets & Gear
 Insights
 Laptop
 Reviews
 Smartphone
 Tech Guides
 Vibe Coding