Laptop Won’t Turn On? Diagnose It Before Paying for Repair

Verdict: Most “Dead” Laptops Are Not Dead
A laptop that refuses to turn on is usually a power problem, not a dead machine. In most cases the fix is one of three things: a faulty charger or cable, residual charge stuck in the board, or a runaway peripheral blocking the boot. Before you pay a shop for diagnostics, work through the sequence below. It takes about 30 minutes, requires no special tools, and isolates the cause with enough precision to know whether the repair is a cheap part or a professional job.

Dead or Just Not Displaying?
The first distinction changes everything. A laptop with no signs of life at all, no lights, no fan, no disk activity, points at power delivery. A laptop that lights up or spins its fans but shows a black screen points at the display or the boot sequence. Press the power button and watch closely for ten seconds.
Listen for fan spin or drive clicks. Look for any LED near the power jack, keyboard backlight flashes, or the caps-lock light. If anything responds, your power supply is fine and the problem lives further downstream. Skip ahead to the display section. If absolutely nothing happens, stay here. Your issue is power, and power problems are the most diagnosable of the bunch.

I have seen people replace motherboards over what turned out to be a charger with a cracked barrel connector. Start with the cheap causes. They are cheap for a reason: they happen constantly.
Check Power First
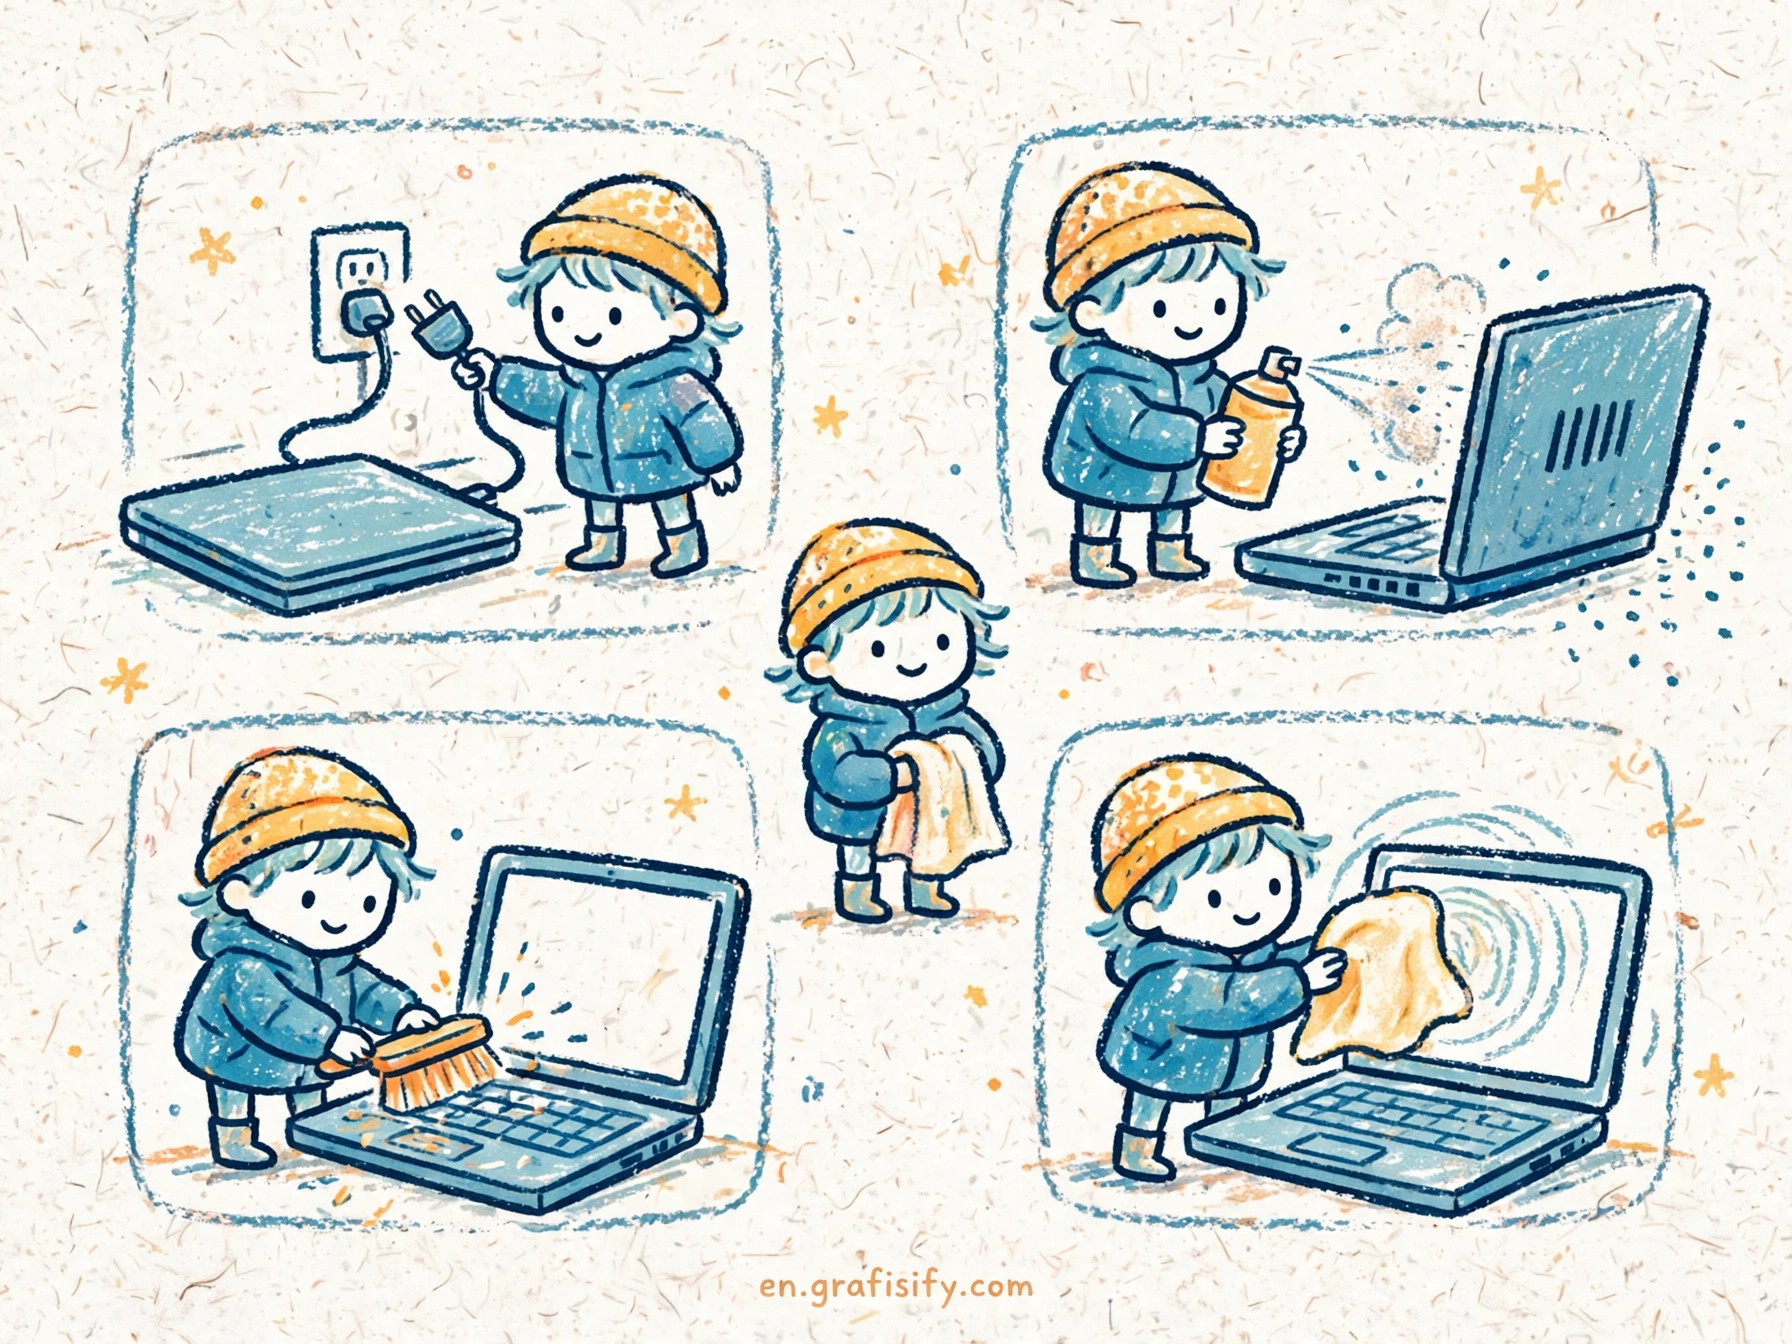
Confirm the wall outlet works by plugging in something else, a lamp, a phone charger. Outlets connected to light switches catch people off guard. Then inspect the charger itself. Look along the full cable for fraying, kinks, or heat discoloration, and check the connector tip for bent pins or debris. A connector that feels loose in the port often fails to deliver power even when the brick is fine.
If the charger has a detachable AC cord, reseat it firmly on both ends. These cords walk loose over months of tugging. If you can borrow a compatible charger, that is the fastest single test in this whole guide. Same wattage, same connector. If the laptop wakes up, you have your answer: replace the charger.
Also Read:

Charger wattage matters more than most people expect. A 45W brick can trickle-charge a machine that wants 65W without ever booting it. I learned this the hard way at a client site with a borrowed travel charger. If you want the full explanation of what the numbers mean, our GaN charger wattage guide breaks down voltage, amperage, and why underpowered bricks cause exactly these symptoms.
Also disconnect the laptop from any dock or hub before testing. A docking station can pass video while failing to pass power, or feed power through a port that negotiated the wrong profile. Test the charger plugged directly into the laptop, straight into a wall outlet. No power strips, no surge protectors for this test. Lenovo’s own support docs give the same advice: charge directly from the wall for at least 5 to 10 minutes before concluding anything, because some batteries refuse to power the board below a minimum charge level.
Hard Reset: Drain the Residual Power
Capacitors on the motherboard hold charge after the battery and charger come out. Corrupted power state in those capacitors, or in the embedded controller, can block the boot completely. Every major manufacturer publishes a version of this procedure. HP’s support community recommends it as the first step for no-power machines, and it costs nothing.

With the laptop off, unplug the AC adapter and every peripheral: USB drives, external displays, SD cards, the lot. If the battery is removable, take it out. Then press and hold the power button for a solid 15 to 30 seconds. HP specifies 15 to 20 seconds for removable-battery models and at least 30 seconds to simulate a battery disconnect on sealed models. Dell’s residual-power drain runs 30 to 35 seconds on some lines. Lenovo says at least 10 seconds for internal-battery systems, and points users toward the emergency reset pinhole on models that have one. Hold longer than you think necessary; it costs nothing extra.
Release, reconnect the AC adapter only, and press power. If a startup menu appears on a Windows machine, choose Start Windows Normally and let the OS finish booting. Then reconnect peripherals one at a time, updating drivers after each. A peripheral that kills the boot on reconnection has just identified itself.
Some Lenovo models and many HP models include an emergency reset pinhole on the bottom cover. Power the machine down, disconnect the charger, press a straightened paperclip into the hole for 5 to 10 seconds, then reconnect power and try again. It bypasses the embedded controller and can revive a system stuck in a low-power state, as documented in HP’s support walkthrough. Check your manual for whether your model has one.
Read the Signs: Lights, Fans, Beeps
If the hard reset changed nothing, interrogate the machine. Press power and catalog every response. Each sign narrows the field.
LED behavior first. Many laptops flash their charging LED or power LED in a coded pattern when the board detects a hardware fault. Dell documents beep and blink codes per model family; iFixit’s troubleshooting wiki walks through using those codes to identify whether the fault is RAM, the board, or power. HP and Lenovo have their own blink-code tables in their support knowledge bases. Write down the exact pattern, pauses included, then search it against your manufacturer’s support site with your exact model number.
Fan behavior tells a different story. Fans that spin up loudly then stop suggest the board passed power-on self-test and then hit a fault. No fan movement at all with a lit power LED suggests the boot stalled before fan control initialized, which points at RAM or the board. A fan stuck at full blast from the second you press power usually means a sensor or firmware problem rather than heat.
Beep codes are the oldest diagnostic language in computing and still the most direct. One long beep and two short beeps means video failure on many BIOS implementations; repeated short beeps often mean RAM. Your manufacturer’s beep-code page is authoritative here because codes vary by vendor. The HP community threads on no-power machines, like this one and this detailed walkthrough, show support agents asking for beep patterns before anything else. Document first, then look up.
Rule Out the Display
A laptop can boot perfectly while showing you a black screen. The difference matters because a display problem is usually cheaper to fix than a board problem. Connect an external monitor or TV via HDMI or USB-C. If your laptop has multiple video outputs, try each; one port’s controller can fail while another works.
Press the display toggle key, usually Fn plus one of the F-keys, after connecting. If the external screen shows your desktop, the laptop is alive. The internal display, its cable, or the backlight is at fault. A dim but visible image under a flashlight held at an angle means the backlight died while the panel works, a common and inexpensive repair.
If the external monitor stays black too, the problem is deeper: RAM, storage, or the board. Which brings us to the internals. Also note which port you used for this test. Our Thunderbolt vs USB4 guide explains why some USB-C ports carry video and power while others carry only data, and picking the wrong port can make a working laptop look dead on an external screen.
When It Is Safe to Open It Up
Everything past this point involves opening the laptop. That voids the warranty on some machines and risks static damage if you rush. Work on a clean table, ground yourself by touching a metal object first, and keep track of every screw. If your laptop is still under warranty, stop here and use it. A free manufacturer repair beats a confident DIY job.
With the back cover off and the battery disconnected, reseat the RAM. Pop each stick out, blow out the slot with short bursts of compressed air, and push the stick back until both clips engage. If the machine has two sticks, test them one at a time in each slot. One bad stick or one bad slot explains a huge share of no-boot cases, and this test isolates which.
While you are inside, check the battery. A swollen battery, one that has puffed up or lifted the trackpad, is a safety hazard. Stop immediately, do not puncture or bend it, and take the machine to a shop for battery replacement. Heat, odor, or warping around the battery are all reasons to end the DIY session.
Disconnect the internal storage drive and try booting. If the machine reaches the BIOS screen or a “no boot device” message without the drive, the drive was hanging the boot. That is genuinely good news: a dead SSD is a thirty-minute swap, and our laptop SSD upgrade guide covers the replacement process step by step, including cloning your data across.
Symptom to Cause: The Quick Reference
Use this table after you have gathered your observations. Match the left column to what your laptop does, then work the middle column before assuming the worst.
| What the laptop does | Most likely cause | Your next move |
|---|---|---|
| No lights, no fan, totally silent | Charger, cable, outlet, or DC jack | Test outlet, inspect cable, borrow a compatible charger |
| Charging LED on, but no boot | Residual power state or embedded controller lock | Hard reset: hold power 15 to 30 seconds with everything unplugged |
| Lights and fans, black internal screen | Display, display cable, or backlight | External monitor test, then flashlight test for backlight |
| LED blink pattern or beep codes | Specific hardware fault (RAM, board, video) | Write down the pattern, look up your vendor’s code table |
| Boots only without the battery | Failed or shorted battery | Replace the battery; check for swelling first |
| Dies when a specific peripheral connects | Faulty peripheral or port | Test the peripheral on another machine, update drivers |
| Shuts off seconds after starting | Overheating protection or short circuit | Check vents and fans; a shop should inspect the board |
| Reaches BIOS but not the OS | Storage drive or boot configuration | Reseat the drive, check boot order, test with a live USB |
When to Pay for Repair
Stop and call a professional when the symptoms point past your tools. No lights after a verified-good charger and a proper hard reset suggests board-level failure: the DC jack, the power circuitry, or the motherboard itself. Those repairs need schematics, a soldering station, and experience. The diagnostic fee is worth it because a wrong guess at this level costs more than the diagnosis.
Liquid damage is its own category. If anything spilled on the machine, do not keep trying to power it on. Every attempt risks shorting more traces. Unplug it, remove the battery if you can do so safely, and get it to a shop that does board-level liquid-damage repair. Time matters: corrosion spreads.
Before you authorize anything, ask the shop for the specific failed component and a written quote. “The motherboard is dead” without a measurement to back it up is a guess you are paying for. A good technician will tell you which rail has no voltage or which chip failed POST, and that specificity is what separates a real diagnosis from a parts lottery.
Final Take: Start With Power, End With Certainty
Walk the sequence in order and most dead laptops give up their secret: outlet, charger, peripherals, hard reset, signs of life, display test, then internals. Each step eliminates a category. By the end you either have a working laptop or a precise description of the failure to hand a technician, which is the difference between a targeted repair and an expensive guessing game.
Bookmark the manufacturer support page for your exact model while the laptop works, not after it dies. Beep-code tables, hard-reset procedures, and emergency reset locations are all published and free. The thirty minutes you spend learning them now is the repair bill you avoid later.

Irfan is a Creative Tech Strategist and the founder of Grafisify. He spends his days testing the latest AI design tools and breaking down complex tech into actionable guides for creators. When he’s not writing, he’s experimenting with generative art or optimizing digital workflows.






 Artificial Intelligent
 Design & Creative
 Freelance
 Gadgets & Gear
 Insights
 Laptop
 Reviews
 Smartphone
 Tech Guides
 Vibe Coding