Upgrade Your Laptop SSD: A Practical Guide
The Verdict
TL;DR: A slow laptop with a spinning hard drive or a cramped, aging SSD gets the biggest speed gain per dollar from a drive swap. No other single upgrade changes day-to-day feel this much. Match the interface your slot supports, buy 1TB from a brand with a real warranty, move your system over with cloning software or a fresh install, and set aside one unhurried hour. Skip the project only when the vendor soldered the storage to the board or the machine has deeper problems a faster drive cannot fix.
The Drive Is the Bottleneck
Open a laptop from five years ago and the usual suspects for slowness are a tired hard drive, 8GB of RAM fighting thirty browser tabs, or a CPU that throttles under a blanket of dust. The hard drive deserves the first look. A spinning 2.5-inch disk moves data at 100 to 150 MB/s on a good day. A basic SATA SSD pushes past 500 MB/s. A modern NVMe drive clears 3,000 MB/s without breaking a sweat. Those gaps show up everywhere: boot time, app launches, large file copies, game level loads, project opens in an editor.
I have done this swap on office ThinkPads, student ultrabooks, and one very loud gaming laptop from 2019. The pattern never changes. The machine boots in under twenty seconds, search results appear as you type, and the whole system stops feeling like it is thinking about your request. RAM helps when you run out of it. A faster drive helps every minute the machine is on.
This guide covers the full job: identifying what your laptop accepts, picking a drive worth your money, moving your system across, and avoiding the traps that turn a cheap upgrade into an expensive afternoon. If you can turn a screwdriver and follow a checklist, you can do this.
Match the Slot: SATA, NVMe, and PCIe Generations
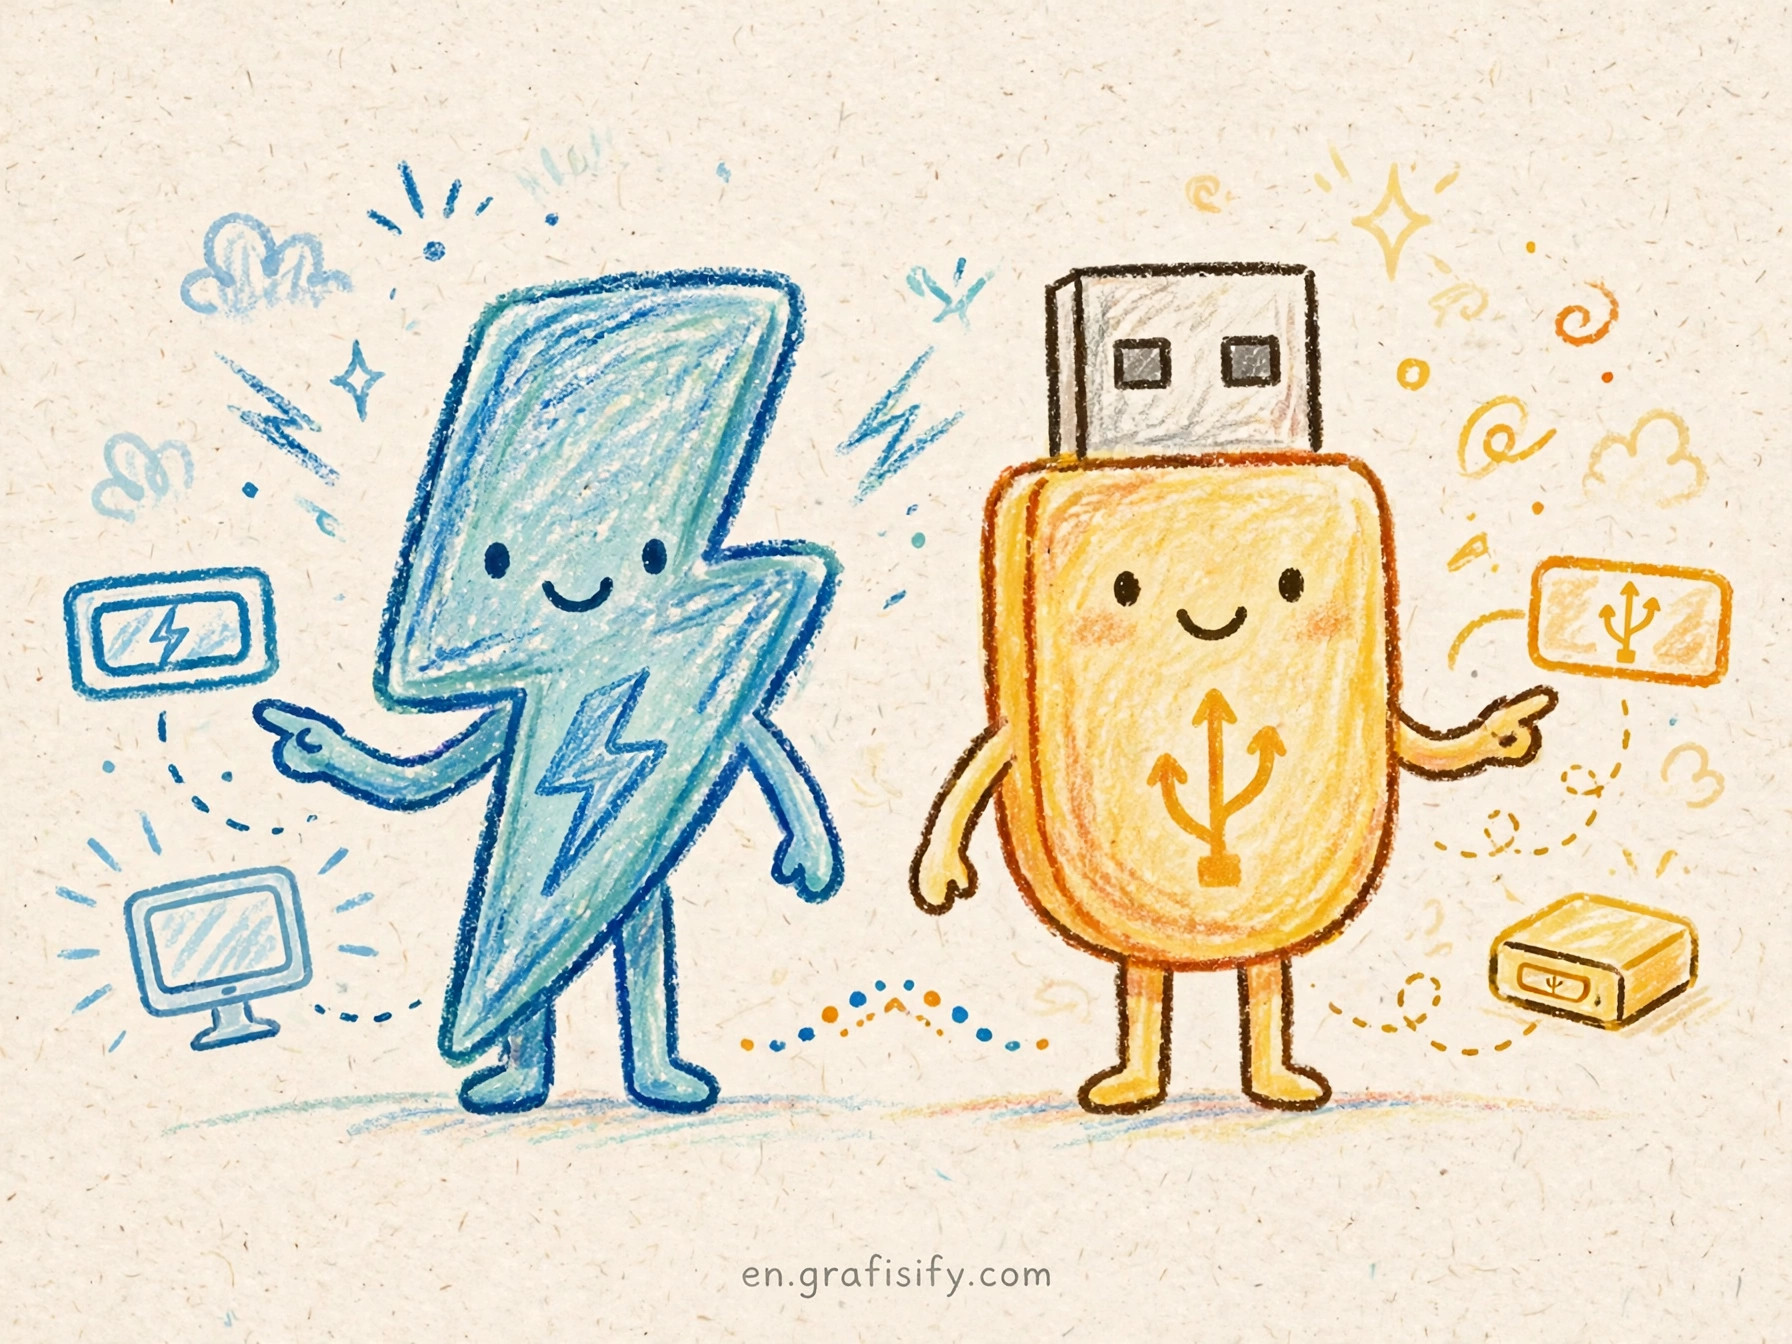
Laptop storage comes in two physical shapes and two interfaces, and the combinations matter. The 2.5-inch bay takes SATA drives, the same size as old laptop hard disks. The M.2 slot takes gumstick-shaped drives, most of them 22mm wide and 80mm long, called 2280. Compact machines sometimes use shorter 2242 or 2230 sticks, so measure or check the service manual before you order.
The interface decides the speed ceiling. SATA III tops out at 6 gigabits per second, which translates to about 550 MB/s of real sequential throughput. NVMe rides the PCIe bus instead, and each generation doubles the ceiling in practice. A Gen4 drive drops into a Gen3 slot and runs at Gen3 speed, so buying newer than your slot supports wastes money but causes no harm. The table below lays out the practical ceilings.
| Interface | Max sequential read | Where you find it |
|---|---|---|
| SATA III (6 Gbps) | ~550 MB/s | 2.5-inch bays, older M.2 slots |
| NVMe PCIe 3.0 x4 | ~3,500 MB/s | Laptops from around 2017 onward |
| NVMe PCIe 4.0 x4 | ~7,000 MB/s | Laptops from around 2021 onward |
| NVMe PCIe 5.0 x4 | ~14,000 MB/s | High-end 2024+ machines, rare in laptops |
Before you buy anything, confirm what your specific model accepts. Lenovo, Dell, and HP publish service manuals with the exact slot type and maximum supported capacity. Crucial runs a free compatibility scanner that reads your machine and lists drives guaranteed to fit. I recommend running the scanner even when you feel sure, because one wrong assumption about keying or length costs you a return shipment.
Picking the Right Drive: Capacity, Endurance, DRAM
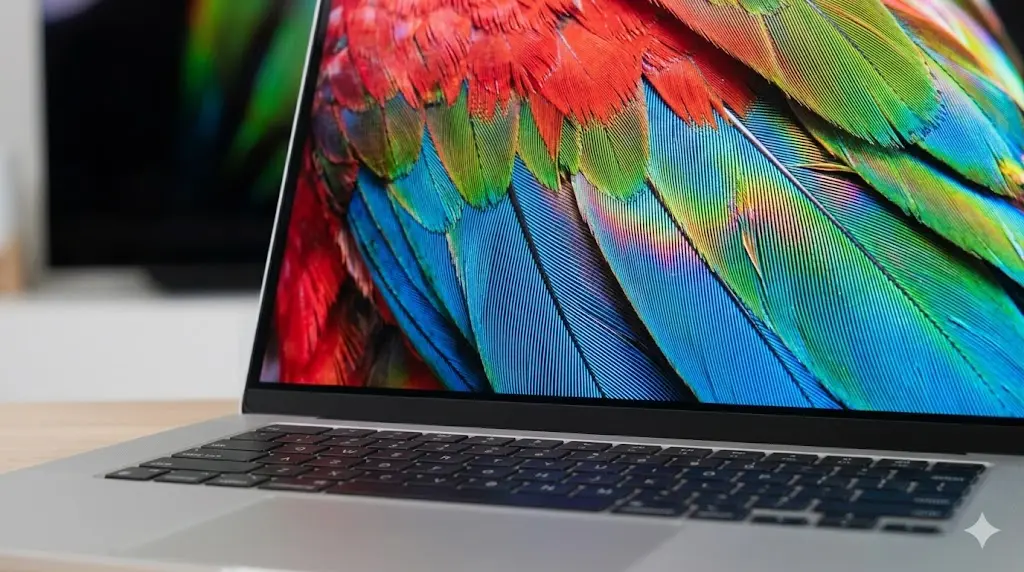
Capacity first. 512GB is the practical floor for a Windows or macOS machine with real software on it, and 1TB is the sweet spot for most people: room for the OS, apps, a photo library, and a few games without constant disk-space anxiety. 2TB makes sense for video editors and anyone who keeps local backups. Buy the capacity you need now plus headroom, because opening the machine twice costs more time than the price gap.
Endurance comes next, expressed as TBW, terabytes written. A typical 1TB consumer drive carries a 600 TBW rating. A normal user writes 10 to 20TB per year, which puts the drive’s lifespan in decades, far past the laptop’s useful life. Chasing a higher TBW number for office work buys nothing. Video scratch disks and Chia-style plotting are the workloads where endurance matters, and you already know if that is you.
Then the DRAM question. Drives with onboard DRAM cache handle heavy mixed workloads and full-drive conditions with more grace. DRAM-less designs lean on Host Memory Buffer, borrowing a slice of system RAM, and perform fine for everyday use at a lower price. For a boot drive that also holds your apps, I pay the small premium for a DRAM-equipped model from Samsung, WD, Crucial, or Kingston. For a secondary games-and-media drive, DRAM-less is a sensible save.
TLC versus QLC NAND is the last spec worth a glance. TLC stores three bits per cell and sustains writes better when the drive fills up. QLC stores four, costs less per gigabyte, and slows down during very long sustained writes once its cache fills. For a primary laptop drive, TLC is the safer pick.
While you have the bottom panel off, consider the companion upgrade. A drive swap pairs well with a memory check, and our guide on how much RAM a laptop needs helps you decide whether a RAM bump belongs in the same surgery. And if the laptop is old enough that you are debating upgrade versus replace, read refurbished vs new first, because a budget SSD can make a used machine feel new.
Clone or Fresh Install
Two paths move your system to the new drive. Cloning copies everything bit for bit: OS, apps, settings, files. A fresh install starts clean and forces you to reinstall apps and restore files from backup. Cloning saves an afternoon. A fresh install clears years of cruft. Pick cloning when the current system runs well and you want continuity. Pick a fresh install when the machine has mystery slowdowns no drive will cure.
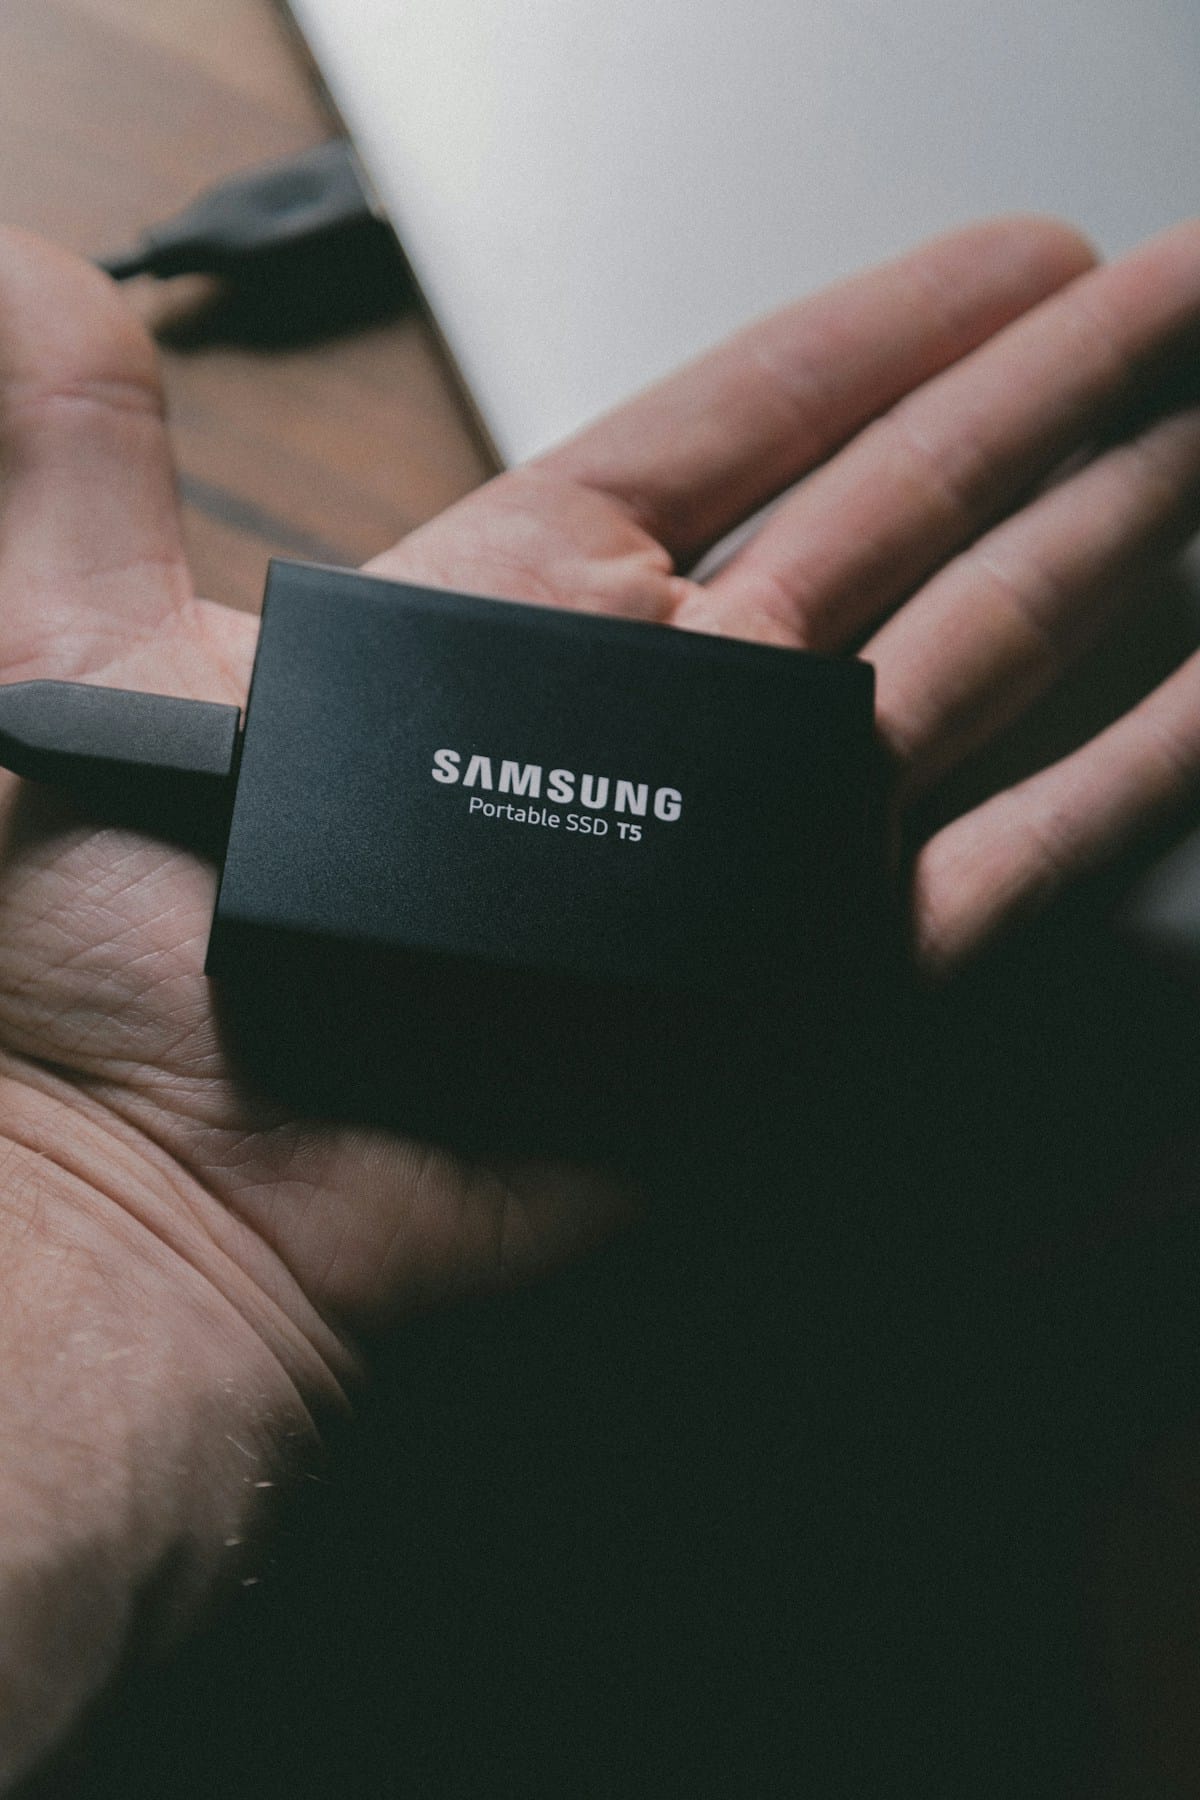
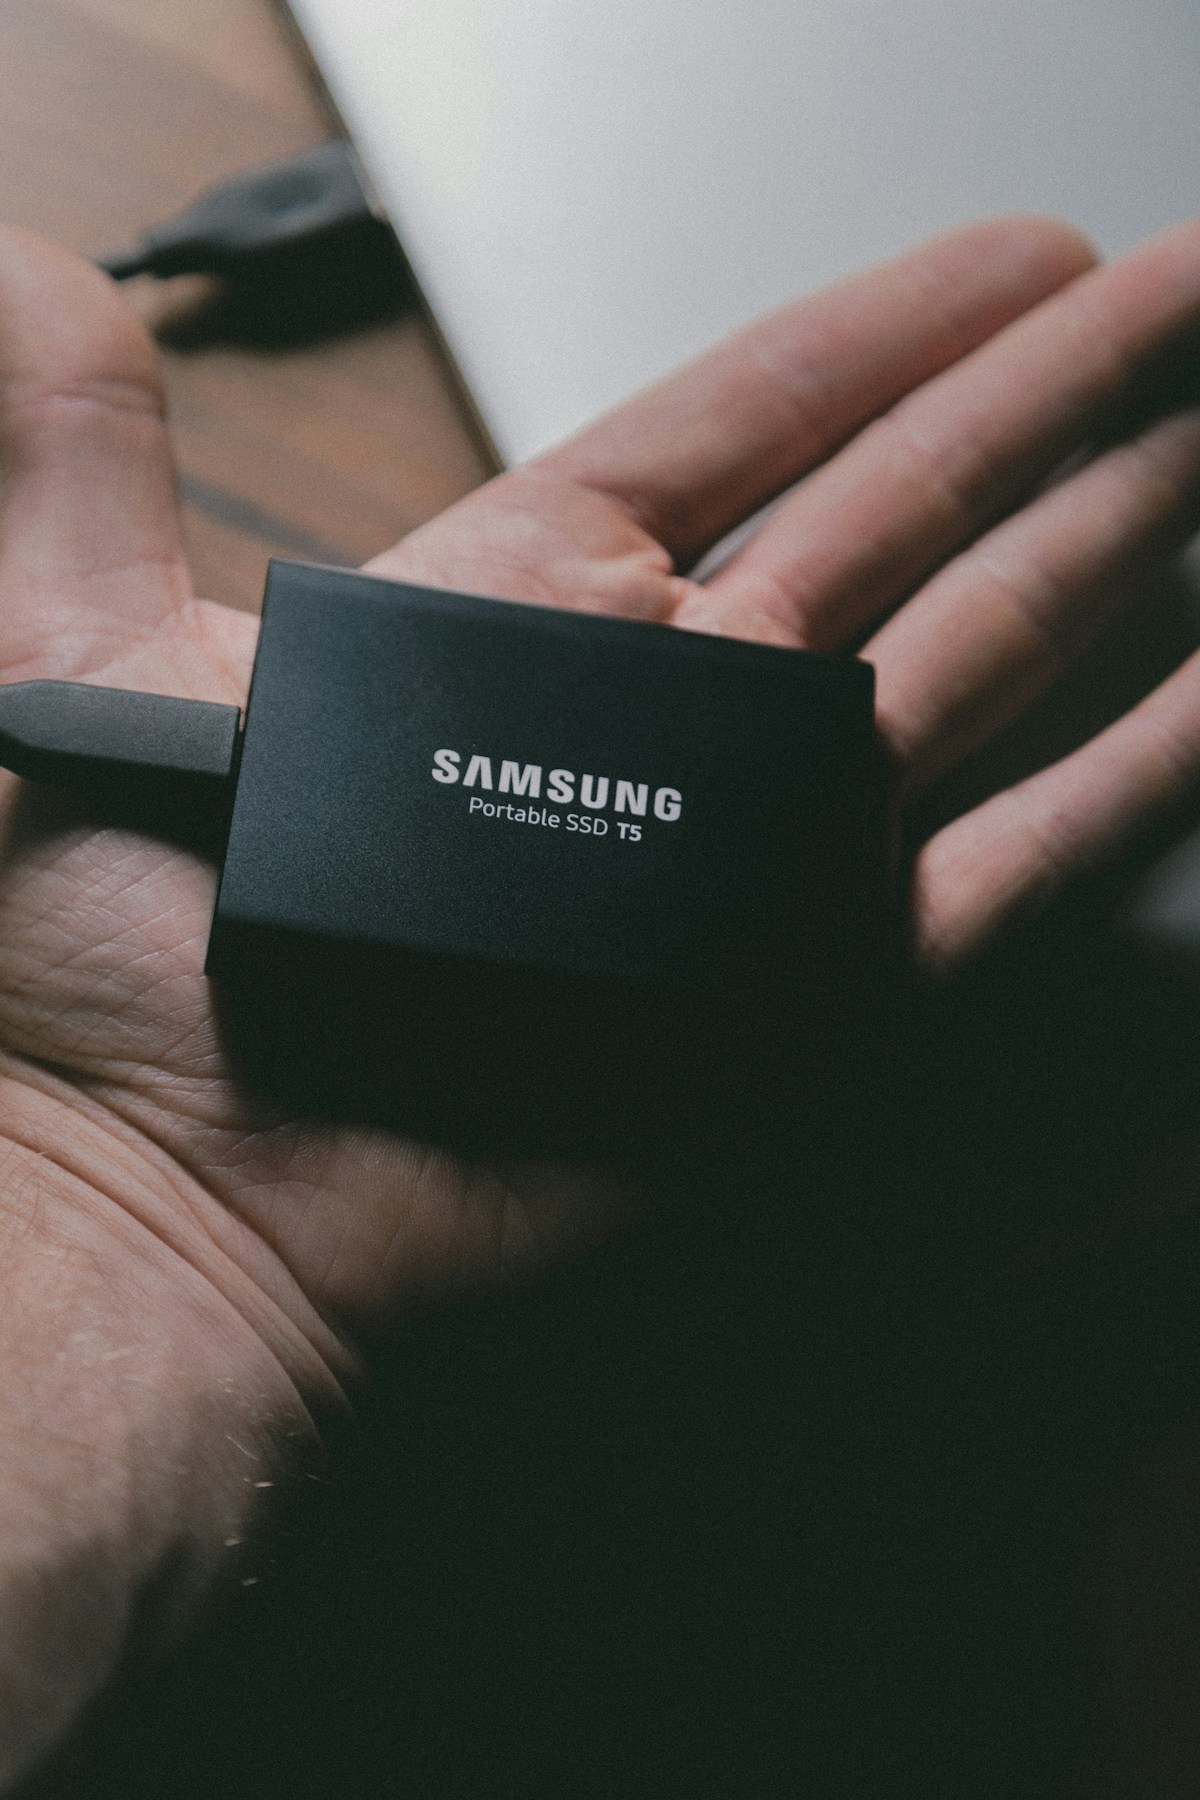
For cloning you need the new drive connected while the old one still boots, which means a USB NVMe or SATA enclosure, an inexpensive accessory worth owning. Samsung includes its Data Migration tool free with Samsung SSDs, and it handles Samsung-to-Samsung clones with minimal fuss. Macrium Reflect remains the most trusted third-party cloner for Windows, and Acronis True Image ships bundled with many retail drive kits. Clone with the laptop on AC power, verify the clone boots from the enclosure before you open the machine, and keep the old drive untouched for a week as your fallback.
A fresh install needs a Windows or Linux USB installer and your files backed up somewhere safe. Windows licenses tie to the motherboard on most modern laptops, so activation survives the swap without a key. Budget two to three hours for updates, drivers, and app reinstalls, and download the Wi-Fi driver to the USB stick first, because nothing stalls a fresh install like a machine with no network.
The Swap Itself: Tools and Steps
Back up first. Not a quick copy of the documents folder, a full image or at least a complete file backup to an external drive. Drives almost never fail mid-swap, but screws strip, connectors snap, and static discharge is real. A backup turns every mistake into an inconvenience instead of a disaster.
Power the laptop all the way off, unplug it, and hold the power button for ten seconds to drain residual charge. Remove the bottom panel screws and set them on a magnetic tray in the pattern they came out, because lengths often differ. Pry the panel with a plastic spudger, never a metal screwdriver, working around the edges until the clips release. If the battery has a connector you can reach, disconnect it.
The drive sits under a small screw, sometimes beneath a thermal pad or thin heatsink. Remove the screw, slide the old drive out at its slight angle, slide the new one in, and secure it. Replace any thermal pad right where it sat. Reconnect the battery, press the panel back until every clip seats, and reinstall the screws in their original holes.
Boot into the BIOS or UEFI first and confirm the drive appears. Then boot your clone or installer. If the machine cannot see the drive, reseat it, because nine times out of ten the stick was not fully in the slot. Once the OS runs, check that the full capacity shows and run a quick benchmark to confirm you are getting the speeds you paid for.
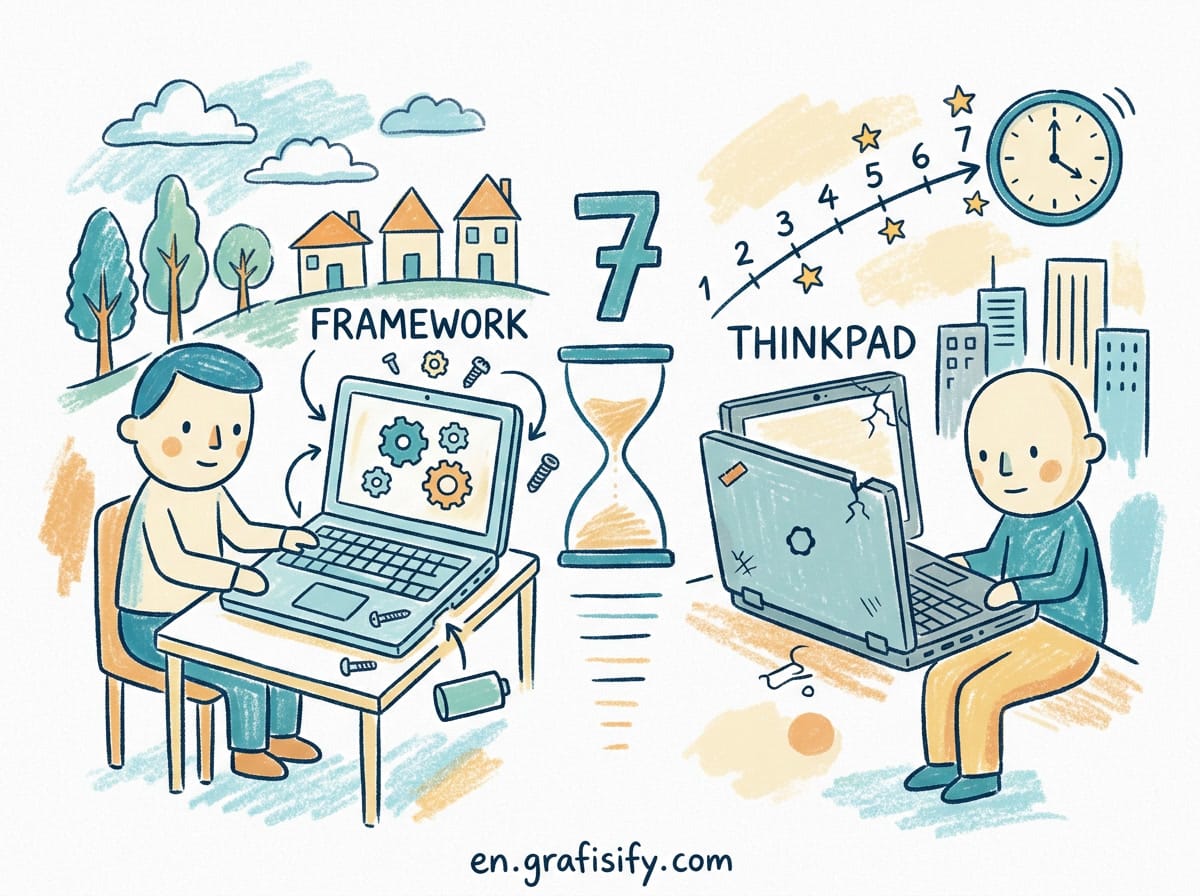
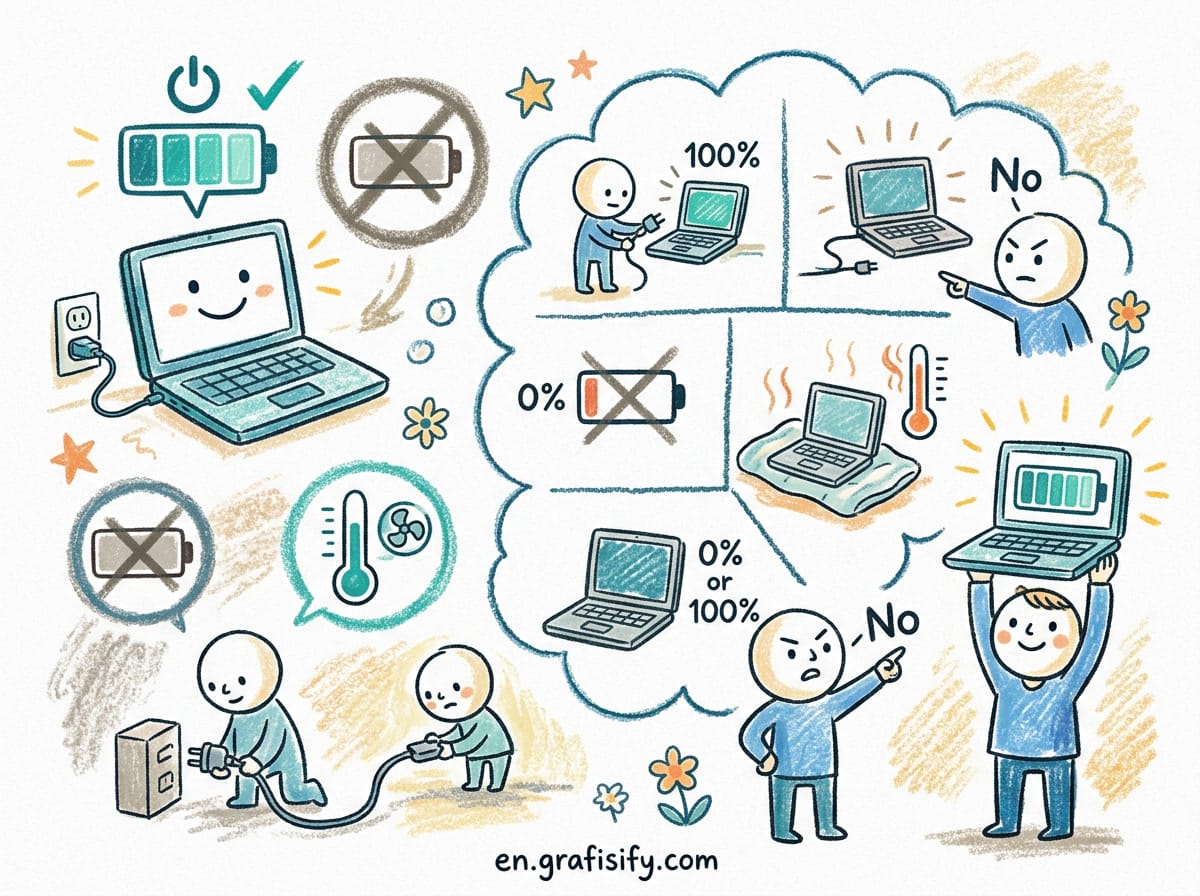
Some machines welcome this work more than others. Framework laptops and many ThinkPads publish step-by-step service guides and sell the machine on repairability, which our Framework vs ThinkPad longevity comparison covers in depth. Apple Silicon Macs sit at the opposite end: the vendor soldered the storage, so no swap exists. Also note that a fast NVMe drive under sustained load runs warmer than the drive it replaces, so keep an eye on thermals with the advice in our laptop cooling guide.
Mistakes That Waste Money
The most expensive mistake is buying speed your slot cannot use. A Gen5 drive in a Gen3 laptop performs like a cheaper Gen3 drive, no faster, and the premium buys nothing but a nicer box. Match the drive generation to the slot, or one step above at most for a machine you plan to move the drive into later.
The second is ignoring physical fit. A 2280 stick does not fit a 2242 slot, and some ultrabooks accept only single-sided drives because the motherboard sits millimeters below. The service manual answers both questions in one page. The third is skipping the backup and discovering mid-swap that the clone failed. Verify the clone boots before the screwdriver comes out.
The fourth is paying for endurance or capacity the workload will never touch. A 4TB QLC drive for a student who lives in a browser is money burned. A 512GB drive for a video editor who already owns three external disks is a second surgery waiting to happen. Buy for the workload in front of you.
Bottom Line: Start With Compatibility
A drive swap remains the best value upgrade in laptops. No other part delivers this much daily speed for this little money and effort. The entire job hinges on one unglamorous step: confirming the exact slot, length, and interface in your service manual before you spend a cent.
Browse the current lineups at Samsung, Crucial, Kingston, and Western Digital, confirm the exact model against your service manual, and order the enclosure in the same cart. One careful hour of prep beats a weekend of returns. Your laptop will feel new, and you will wonder why you waited.

Irfan is a Creative Tech Strategist and the founder of Grafisify. He spends his days testing the latest AI design tools and breaking down complex tech into actionable guides for creators. When he’s not writing, he’s experimenting with generative art or optimizing digital workflows.





 Artificial Intelligent
 Design & Creative
 Freelance
 Gadgets & Gear
 Insights
 Laptop
 Reviews
 Smartphone
 Tech Guides
 Vibe Coding