How to Build 2D Games With Python Pygame
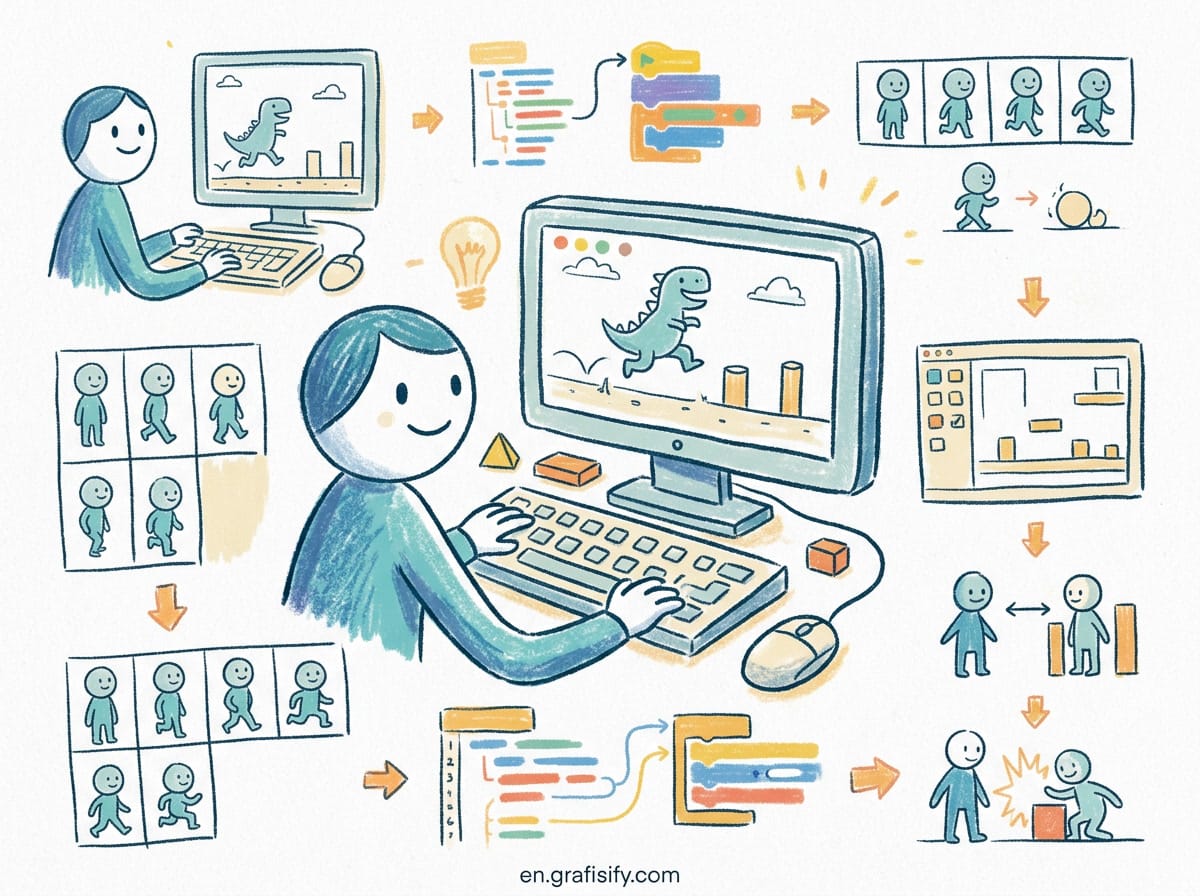
Building 2D games used to mean setting up heavy game engines, learning complex visual editors, or managing boilerplate graphics code before drawing a single sprite on screen. If you already code in Python, you do not need a massive 3D engine to build clean, responsive 2D games or interactive visual prototypes.
Pygame remains the standard Python library for handling graphics, audio, keyboard events, and physics loops without hidden magic. Whether you are building retro arcade games, prototyping game mechanics, or learning visual program structure under the hood, Pygame gives you direct control over every frame drawn to the display surface.
In this guide, you will learn how to set up Pygame 2.6, construct a rock-solid main game loop, manage sprite surfaces, handle user inputs, detect collisions, and bundle your game into a clean, distributable package.
Quick Verdict: Is Pygame Right for Your Project?
Before writing graphics code, evaluate whether Pygame matches your target output and technical needs.
- Use Pygame if: You want complete control over code structure, want to build custom 2D mechanics in pure Python, or need lightweight interactive visual apps without binary engine overhead.
- Skip Pygame if: You require out-of-the-box 3D rendering, visual scene graph editors, or seamless mobile export target environments. For complex 3D or visual scene editor workflows, dedicated engines offer better suited built-in tools.
Core Mechanics: How Pygame Compares to Lightweight 2D Frameworks
Choosing a game framework depends on how much engine infrastructure you want pre-built versus how much low-level control you need over your render pipeline.
| Feature | Pygame 2.6 | Arcade | Godot (GDScript) |
|---|---|---|---|
| Primary Language | Python | Python | GDScript / C# |
| Render Backend | SDL2 / Hardware Accelerated | OpenGL 3.3+ | Custom Vulkan / OpenGL |
| Sprite Handling | pygame.sprite.Group | Arcade SpriteList | Node2D / Sprite2D Tree |
| Game Loop Control | Explicit while loop | Window class callbacks | Engine managed node lifecycle |
| GUI / Level Editor | None (Code-driven) | None (Code-driven) | Full Visual IDE |
| Mobile Export | Experimental / Complex | Desktop only | Native Android / iOS |
1. Setting Up Your Pygame 2.6 Environment
Pygame 2.6 runs on top of SDL2 binaries, providing hardware-accelerated 2D surface blitting across Windows, macOS, and Linux platforms. To avoid system Python library conflicts, isolate your game workspace inside a dedicated virtual environment.
Open your terminal or command prompt and run the following commands to create your project structure:
# Create project directory and isolate virtual environment
python3 -m venv venv
source venv/bin/activate  # On Windows use: venv\Scripts\activate

# Upgrade pip and install Pygame 2.6
pip install --upgrade pip
pip install pygame
Verify that Pygame is configured correctly on your display server by running the built-in system test suite:
python3 -m pygame.examples.aliens
If the window launches cleanly with sound and sprite rendering, your SDL2 bindings and audio drivers are ready for development. If you need to search your codebase quickly for specific module files or configuration assets, tools like ripgrep and fzf for terminal search streamline project navigation.
2. The Architecture of a Pygame Window and Event Loop
Every interactive Pygame application relies on three fundamental components: display surface initialization, the event handling queue, and clock rate regulation. Unlike game engines that hide the game loop inside internal callbacks, Pygame requires you to manage the execution flow explicitly.
Create a file named main.py and add the baseline template below:
import sys
import pygame

# Initialize all core SDL modules
pygame.init()

# Display configuration
SCREEN_WIDTH = 800
SCREEN_HEIGHT = 600
FPS = 60

screen = pygame.display.set_mode((SCREEN_WIDTH, SCREEN_HEIGHT))
pygame.display.set_caption("2D Game Architecture - Pygame 2.6")
clock = pygame.time.Clock()

# Color definitions (RGB)
BG_COLOR = (24, 28, 36)
PLAYER_COLOR = (31, 182, 166)

# Main game loop flag
running = True

while running:
    # 1. Process Event Queue
    for event in pygame.event.get():
        if event.type == pygame.QUIT:
            running = False
        elif event.type == pygame.KEYDOWN:
            if event.key == pygame.K_ESCAPE:
                running = False

    # 2. Update Game State (Logic Phase)
    # Positions, physics updates, and collisions belong here

    # 3. Render Phase (Draw Phase)
    screen.fill(BG_COLOR)

    # Draw simple rect placeholder
    pygame.draw.rect(screen, PLAYER_COLOR, (370, 270, 60, 60))

    # Swap display buffers
    pygame.display.flip()

    # Maintain fixed framerate (60 FPS)
    clock.tick(FPS)

# Clean shutdown
pygame.quit()
sys.exit()
The clock.tick(60) call caps your execution speed to 60 frames per second. Without this delay, your loop will consume 100% CPU core capacity, causing movement speeds to fluctuate wildly across different computer hardware.

3. Object-Oriented Sprites and Surface Management
Drawing raw shapes using pygame.draw works for simple demos, but full 2D games require modular entities. Pygame provides the pygame.sprite.Sprite class to combine graphic surfaces, collision rectangles, and movement logic into self-contained objects.
Let us implement a player sprite with directional movement bounds and dynamic speed controls:
import pygame

class Player(pygame.sprite.Sprite):
    def __init__(self, x: int, y: int):
        super().__init__()
        # Create sprite surface texture
        self.image = pygame.Surface((48, 48))
        self.image.fill((31, 182, 166))  # Teal accent color

        # Position rectangle used for blitting and collisions
        self.rect = self.image.get_rect()
        self.rect.center = (x, y)
        self.speed = 5

    def update(self):
        # Continuous key state polling for smooth movement
        keys = pygame.key.get_pressed()

        dx = 0
        dy = 0

        if keys[pygame.K_LEFT] or keys[pygame.K_a]:
            dx -= self.speed
        if keys[pygame.K_RIGHT] or keys[pygame.K_d]:
            dx += self.speed
        if keys[pygame.K_UP] or keys[pygame.K_w]:
            dy -= self.speed
        if keys[pygame.K_DOWN] or keys[pygame.K_s]:
            dy += self.speed

        # Apply displacement
        self.rect.x += dx
        self.rect.y += dy

        # Enforce display screen boundary limits
        if self.rect.left < 0:
            self.rect.left = 0
        if self.rect.right > 800:
            self.rect.right = 800
        if self.rect.top < 0:
            self.rect.top = 0
        if self.rect.bottom > 600:
            self.rect.bottom = 600
Using pygame.key.get_pressed() inside the update() method guarantees continuous movement while keys are held down, bypassing the initial keyboard repeat delay inherent in discrete event polling.
4. Fast Collision Detection with Sprite Groups
Managing dozens of individual sprites manually causes messy draw logic. Pygame addresses this with pygame.sprite.Group containers, which automate update execution, surface blitting, and collision checks across multiple objects simultaneously.
Here is how to set up player-obstacle collision handling using Pygame bounding-box detection:
class Obstacle(pygame.sprite.Sprite):
    def __init__(self, x: int, y: int, width: int, height: int):
        super().__init__()
        self.image = pygame.Surface((width, height))
        self.image.fill((255, 201, 60))  # Accent amber color
        self.rect = self.image.get_rect(topleft=(x, y))

# Initialize sprite containers
all_sprites = pygame.sprite.Group()
obstacles = pygame.sprite.Group()

# Instantiation
player = Player(400, 300)
all_sprites.add(player)

wall1 = Obstacle(150, 100, 200, 30)
wall2 = Obstacle(500, 350, 30, 200)
obstacles.add(wall1, wall2)
all_sprites.add(wall1, wall2)

# Inside the main game loop update block:
all_sprites.update()

# Check rectangle collisions between player and obstacle group
hits = pygame.sprite.spritecollide(player, obstacles, False)
if hits:
    # Collision response: reset or block movement
    print("Collision detected with wall obstacle!")
For pixel-perfect collision checks rather than rectangular bounding boxes, assign a binary image mask using self.mask = pygame.mask.from_surface(self.image) and pass pygame.sprite.collide_mask to your collision calls.
5. Optimizing Pygame Performance for 60 FPS Smoothness
As your game grows in visual scope, unoptimized surface drawing can drop framerates on lower-spec hardware. Apply these three operational practices to maintain locked 60 FPS performance:
- Convert Surface Formats: Always call
.convert()on newly loaded opaque images or.convert_alpha()on transparent PNGs immediately after loading. This matches image pixel formats to the GPU display format, eliminating real-time per-frame format conversions. - Batch Render Calls: Use
all_sprites.draw(screen)instead of iteration loops calling individualscreen.blit()functions. Batching surface updates minimizes main-thread Python overhead. - Dirty Rect Display Updates: For static UI screens or light rendering loads, replace
pygame.display.flip()withpygame.display.update(dirty_rect_list)to refresh only regions of the screen that changed since the prior frame. If you manage modular automation scripts alongside game assets, learning how to script GitHub CLI commands can streamline your deployment workflow.
6. Development Workflow and Tooling Integration
When developing games in Python, surrounding tooling makes a substantial difference in iteration speed. Building game prototypes requires testing mechanical sub-components quickly, managing assets, and handling background tasks cleanly.
For example, if you build backend network services or analytics logging for multiplayer game prototypes, you can run background services in Docker containers to isolate network components from your graphics thread. Furthermore, if you organize complex game project submodules across multiple development branches, using Git worktrees for branch management lets you test feature branches side-by-side without swapping local directories.
External technical documentation and reference specifications for underlying libraries are available directly on official portals like the Pygame Official Documentation, the official Pygame PyPI Package Repository, the Simple DirectMedia Layer (SDL) Portal, and the Python Software Foundation Documentation.
Frequently Asked Questions
Can Pygame export directly to web browsers or mobile devices?
Pygame is designed primarily for desktop platforms (Windows, macOS, and Linux). However, projects like Pygbag allow compiling Pygame code to WebAssembly for browser play. For native iOS or Android deployment, dedicated cross-platform engines offer more streamlined publishing tools.
Should I use Pygame 2 or Pygame CE (Community Edition)?
Pygame 2.6 is the core upstream release backed by SDL2 bindings. Pygame CE is a community fork with frequent release cycles and expanded experimental features. Code written using standard Pygame 2.6 APIs remains largely compatible across both engine distribution branches.
How do I handle sound effects and background music without audio lag?
Initialize the Pygame audio mixer using pygame.mixer.init() before main execution. Load short sound effects as pygame.mixer.Sound("effect.wav") into memory, and stream long background music tracks directly from storage using pygame.mixer.music.load("background.ogg").
Conclusion
Pygame 2.6 provides an accessible, robust toolkit for building 2D games and visual tools in Python. By establishing a clean architectural loop, using object-oriented sprite groups, and handling hardware surfaces efficiently, you can turn pure Python code into responsive 60 FPS games without needing heavy third-party IDEs.

Irfan is a Creative Tech Strategist and the founder of Grafisify. He spends his days testing the latest AI design tools and breaking down complex tech into actionable guides for creators. When he’s not writing, he’s experimenting with generative art or optimizing digital workflows.



 Artificial Intelligent
 Design & Creative
 Freelance
 Gadgets & Gear
 Insights
 Laptop
 Reviews
 Smartphone
 Tech Guides
 Vibe Coding