How to Set Up WireGuard VPN on a Linux VPS
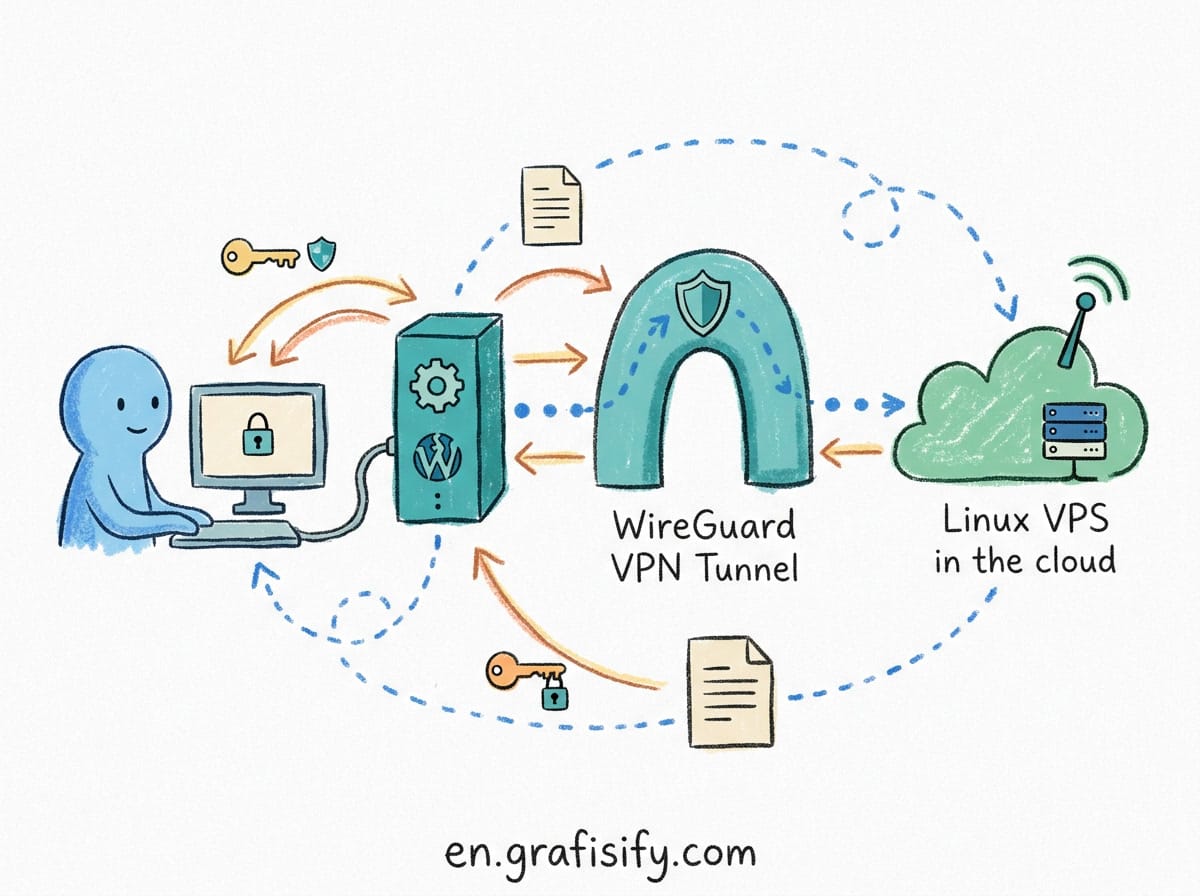
Quick Verdict: WireGuard Is the VPN Server You Should Run on a VPS
If you manage a Linux VPS, you already have an SSH key for encrypted remote access. WireGuard brings that same idea to your whole network: a VPN tunnel that is fast, auditable, and surprisingly simple to configure. I have set this up on Ubuntu servers more times than I can count, and it consistently beats OpenVPN on both speed and sanity.
Here is the short version. WireGuard runs inside the Linux kernel, uses modern cryptography by default, and takes about ten minutes to configure. OpenVPN is mature and flexible, but it has a large configuration surface. IPsec is powerful, but it is notoriously painful to debug. For a personal VPN on a single VPS, WireGuard is the right default choice.
If you only read one section of this guide, read the step-by-step setup below. I include the exact commands for Ubuntu, the firewall rules you need, and a working client configuration for your phone or laptop.
What WireGuard Is and Why It Stands Out

Also Read:

WireGuard is an open-source VPN protocol that was built with one clear goal: make secure tunnels as easy to manage as SSH keys. Instead of certificates, a certificate authority, and a complex handshake, WireGuard exchanges short public keys between peers. That is the whole model.
Several design decisions make it different from older VPN software:
- Minimal codebase. The project deliberately keeps the implementation small so that a single security researcher can audit it. Compare that with the massive OpenSSL-based codebases of older VPNs.
- Modern cryptography. It uses the Noise protocol framework with Curve25519, ChaCha20, Poly1305, and BLAKE2. No legacy ciphers, no configuration menus full of weak options.
- Kernel performance. On Linux, WireGuard is a kernel module. Packets are encrypted and decrypted without bouncing between kernel and userspace, which is a large part of why it is so fast.
- Cryptokey routing. Each peer advertises its public key and the IPs it is allowed to use. The kernel uses this table for routing and for access control at the same time.
- Roaming built in. If your client changes networks, WireGuard learns the new endpoint automatically. No reconnection logic needed on your side.
WireGuard is not new. It has been part of the Linux kernel since version 5.6, and the official WireGuard site describes it as the result of a lengthy academic design process. The protocol is defined in a published whitepaper, which is exactly what you want when you are routing your own traffic through a server you rent.

WireGuard vs OpenVPN vs IPsec: Which One to Choose

The comparison below is the one I use when people ask me which VPN protocol to deploy on a VPS. It is not about which tool is “best” in the abstract. It is about what actually matters when you are the one maintaining the server.
| Feature | WireGuard | OpenVPN | IPsec |
|---|---|---|---|
| Setup time on a fresh VPS | Under 15 minutes | 30 minutes or more | Hours in many cases |
| Default security posture | Modern crypto, no weak defaults | Good, but many options to misconfigure | Strong, complex negotiation |
| Codebase size | Small and auditable | Large, OpenSSL based | Very large |
| Runs in Linux kernel | Yes | No (userspace) | Yes (strongSwan) |
| Handles roaming between networks | Yes, automatic | Partial | Limited |
| Client apps for phone and laptop | Yes (official apps) | Yes | Yes, often awkward |
| Debugging when something breaks | Simple, few moving parts | Verbose logs, complex config | Notoriously hard |
There are legitimate reasons to pick OpenVPN: it has been around longer, some corporate networks block UDP, and TCP fallback is useful in restrictive environments. And IPsec is the standard when you need interoperability with enterprise devices. But for a personal VPN server, a small team, or a privacy tunnel on a VPS you control, WireGuard wins on every axis that affects your day to day maintenance.

What You Need Before You Start
The checklist is short. You do not need a domain, a certificate, or a dedicated box.
- A Linux VPS with Ubuntu 24.04 or a similar modern distribution. WireGuard is in the default repositories on Ubuntu, so no third-party packages.
- Root access or a sudo user over SSH.
- One spare UDP port. The default is 51820 and it works fine.
- An internal subnet for the tunnel. This guide uses 10.8.0.0/24.
Before you start, make sure your server is actually secure. A VPN server with an open SSH port and no firewall is not private, it is a liability. If you have not hardened your SSH setup yet, read my guide on Linux VPS security rules for SSH hardening first. It takes ten minutes and it is the foundation everything else sits on. The same discipline applies to the services you expose later: my Docker container hardening guide covers the equivalent protections for containerized workloads.
Step-by-Step: Install and Configure WireGuard on Ubuntu
Install the package and confirm the version. On Ubuntu 24.04 the command is simple because WireGuard is in the default apt repositories.

sudo apt update
sudo apt install wireguard -y
sudo wg --version
You should see output that starts with wireguard-tools. That means the tooling is ready.

Generate the server keys
WireGuard uses two keys per peer: a private key and a public key derived from it. Generate the private key, protect it, and then derive the public key.
sudo wg genkey | sudo tee /etc/wireguard/server_private.key
sudo chmod 600 /etc/wireguard/server_private.key
sudo cat /etc/wireguard/server_private.key | wg pubkey | sudo tee /etc/wireguard/server_public.key
The chmod 600 step matters. That private key grants access to your tunnel, so it needs the same level of protection as your SSH private key.
Create the server configuration
Find your main network interface name with ip a. It is usually something like eth0 or enp1s0. You will need it for the NAT rule below. Then create the server config:
sudo nano /etc/wireguard/wg0.conf
Paste this, replacing the private key and the interface name with your own values:
[Interface]
Address = 10.8.0.1/24
SaveConfig = true
PrivateKey = YOUR_SERVER_PRIVATE_KEY
ListenPort = 51820

PostUp = iptables -t nat -A POSTROUTING -o enp1s0 -j MASQUERADE
PreDown = iptables -t nat -D POSTROUTING -o enp1s0 -j MASQUERADE
The MASQUERADE rule is what lets your clients reach the internet through the server. Without it, clients can talk to the server but nothing beyond it. If you are using UFW as your firewall, add forwarding rules instead:
PostUp = ufw route allow in on wg0 out on enp1s0
PreDown = ufw route delete allow in on wg0 out on enp1s0
Enable IP forwarding and start the interface
Linux does not forward packets between interfaces by default. Enable it, then start and enable the WireGuard service.
echo 'net.ipv4.ip_forward = 1' | sudo tee -a /etc/sysctl.conf
sudo sysctl -p
sudo systemctl start [email protected]
sudo systemctl enable [email protected]
Verify that the interface came up and that the service is active:
sudo systemctl status [email protected]
sudo wg show
wg show is your best friend for the rest of this setup. It lists the interface, the listen port, and every peer you have configured. The official quickstart guide covers the same commands if you want a second reference with more detail on key generation and persistent keepalives.
Create a Client Configuration for Your Phone or Laptop
The server side is done. Now generate a keypair for each device you want to connect.
sudo wg genkey | sudo tee /etc/wireguard/client1_private.key
sudo cat /etc/wireguard/client1_private.key | wg pubkey | sudo tee /etc/wireguard/client1_public.key
Build a client config file:
sudo nano /etc/wireguard/client1.conf
Put this inside, replacing the keys and the server IP:
[Interface]
PrivateKey = CLIENT1_PRIVATE_KEY
Address = 10.8.0.2/24
DNS = 1.1.1.1

[Peer]
PublicKey = SERVER_PUBLIC_KEY
AllowedIPs = 0.0.0.0/0
Endpoint = YOUR_SERVER_IP:51820
PersistentKeepalive = 25
Two details are worth understanding. AllowedIPs = 0.0.0.0/0 means all traffic goes through the tunnel, which is what you want for a privacy VPN. PersistentKeepalive = 25 keeps the connection alive when you are behind NAT, because the tunnel has to send a packet every 25 seconds to keep the mapping open. The official quickstart recommends a similar interval for peers behind firewalls.
Register the client on the server by appending its public key as a peer:
sudo wg set wg0 peer CLIENT1_PUBLIC_KEY allowed-ips 10.8.0.2/32
sudo wg show
Then transfer the client config to your device with scp, import it into the WireGuard app, and activate the tunnel. On the phone this is a QR code scan or a file import. The official apps exist for Windows, macOS, Android, and iOS.
Test the Tunnel and Fix Common Issues
From the client, ping the server’s tunnel IP first, then check that your public IP changed.
ping -c 4 10.8.0.1
curl ifconfig.me
If you can reach the internet through the tunnel, the setup is complete. If not, work through these in order, because they are the usual suspects in every setup I have debugged:
- Firewall blocks UDP 51820. Most VPS providers have a cloud firewall in addition to UFW. Open UDP port 51820 in both places.
- Missing MASQUERADE. Clients connect but cannot reach the internet. Re-check the PostUp rule and the interface name in it.
- IP forwarding disabled. Same symptom as above. Confirm
sysctl net.ipv4.ip_forwardreturns 1. - Wrong AllowedIPs on the server. Each peer needs the exact
/32address you assigned in the client config. - Client DNS is blocked. Try
1.1.1.1or8.8.8.8instead of your ISP DNS.
Once the tunnel works, I recommend adding uptime monitoring for the services on that VPS. If your VPN dies while you are traveling, you want to know before you need it. A lightweight tool like Uptime Kuma runs on a small VPS and pings your endpoints every minute; my Uptime Kuma setup guide covers the whole process. The same box can also run Docker apps behind the tunnel. My guide on installing Docker and Portainer on a VPS shows you how to manage those workloads. For a fully working reference setup, the Vultr documentation has a step-by-step Ubuntu guide, and the community WireGuard install script is a good starting point if you prefer an automated path.
Frequently Asked Questions
Is WireGuard safe to use? Yes, for its intended scope. The cryptography is modern, the design is public and documented, and the kernel implementation has been reviewed widely. You still need to protect the server itself, because a VPN tunnel is meaningless on a compromised host.
Does WireGuard work on Windows and macOS? Yes. Official clients exist for Windows, macOS, Linux, Android, and iOS. Linux desktops often use it through NetworkManager as well.
Can I run WireGuard alongside other services on the same VPS? Yes. It is just a network interface. Many people run a VPN, a monitoring tool, and Docker containers on one server. Just keep the firewall rules tight so the VPN subnet only reaches what it should.
Why is WireGuard faster than OpenVPN? Largely because it runs inside the kernel and uses fast, modern cipher primitives. OpenVPN spends more time moving packets between kernel and userspace, which adds latency and CPU load at high throughput.
Which VPN protocol should a beginner pick? WireGuard, without hesitation. The configuration surface is tiny, the client apps are polished, and when something breaks, there is very little to misconfigure in the first place.
Final Thoughts and Next Steps
A WireGuard VPN on your own VPS is one of the highest-value security projects you can do in an afternoon. It gives you an encrypted tunnel for your phone on public WiFi, a private network between your devices, and access to your home or lab network from anywhere. I use mine daily for exactly those three things.
If you are new to running your own server, start with the basics and build up. Harden SSH first, then add WireGuard, then layer on monitoring. The three guides I linked above cover that whole path, and each one assumes nothing more than a fresh VPS and a sudo user.

Irfan is a Creative Tech Strategist and the founder of Grafisify. He spends his days testing the latest AI design tools and breaking down complex tech into actionable guides for creators. When he’s not writing, he’s experimenting with generative art or optimizing digital workflows.







 Artificial Intelligent
 Design & Creative
 Freelance
 Gadgets & Gear
 Insights
 Laptop
 Reviews
 Smartphone
 Tech Guides
 Vibe Coding