How to Clean Your Laptop Without Damaging It
The Short Verdict
A clean laptop runs cooler, types better, and looks like a machine you actually care about. You do not need special tools or expensive kits to get there. A microfiber cloth, a can of compressed air, and a small amount of 70 percent isopropyl alcohol will handle almost every cleaning job a laptop needs.
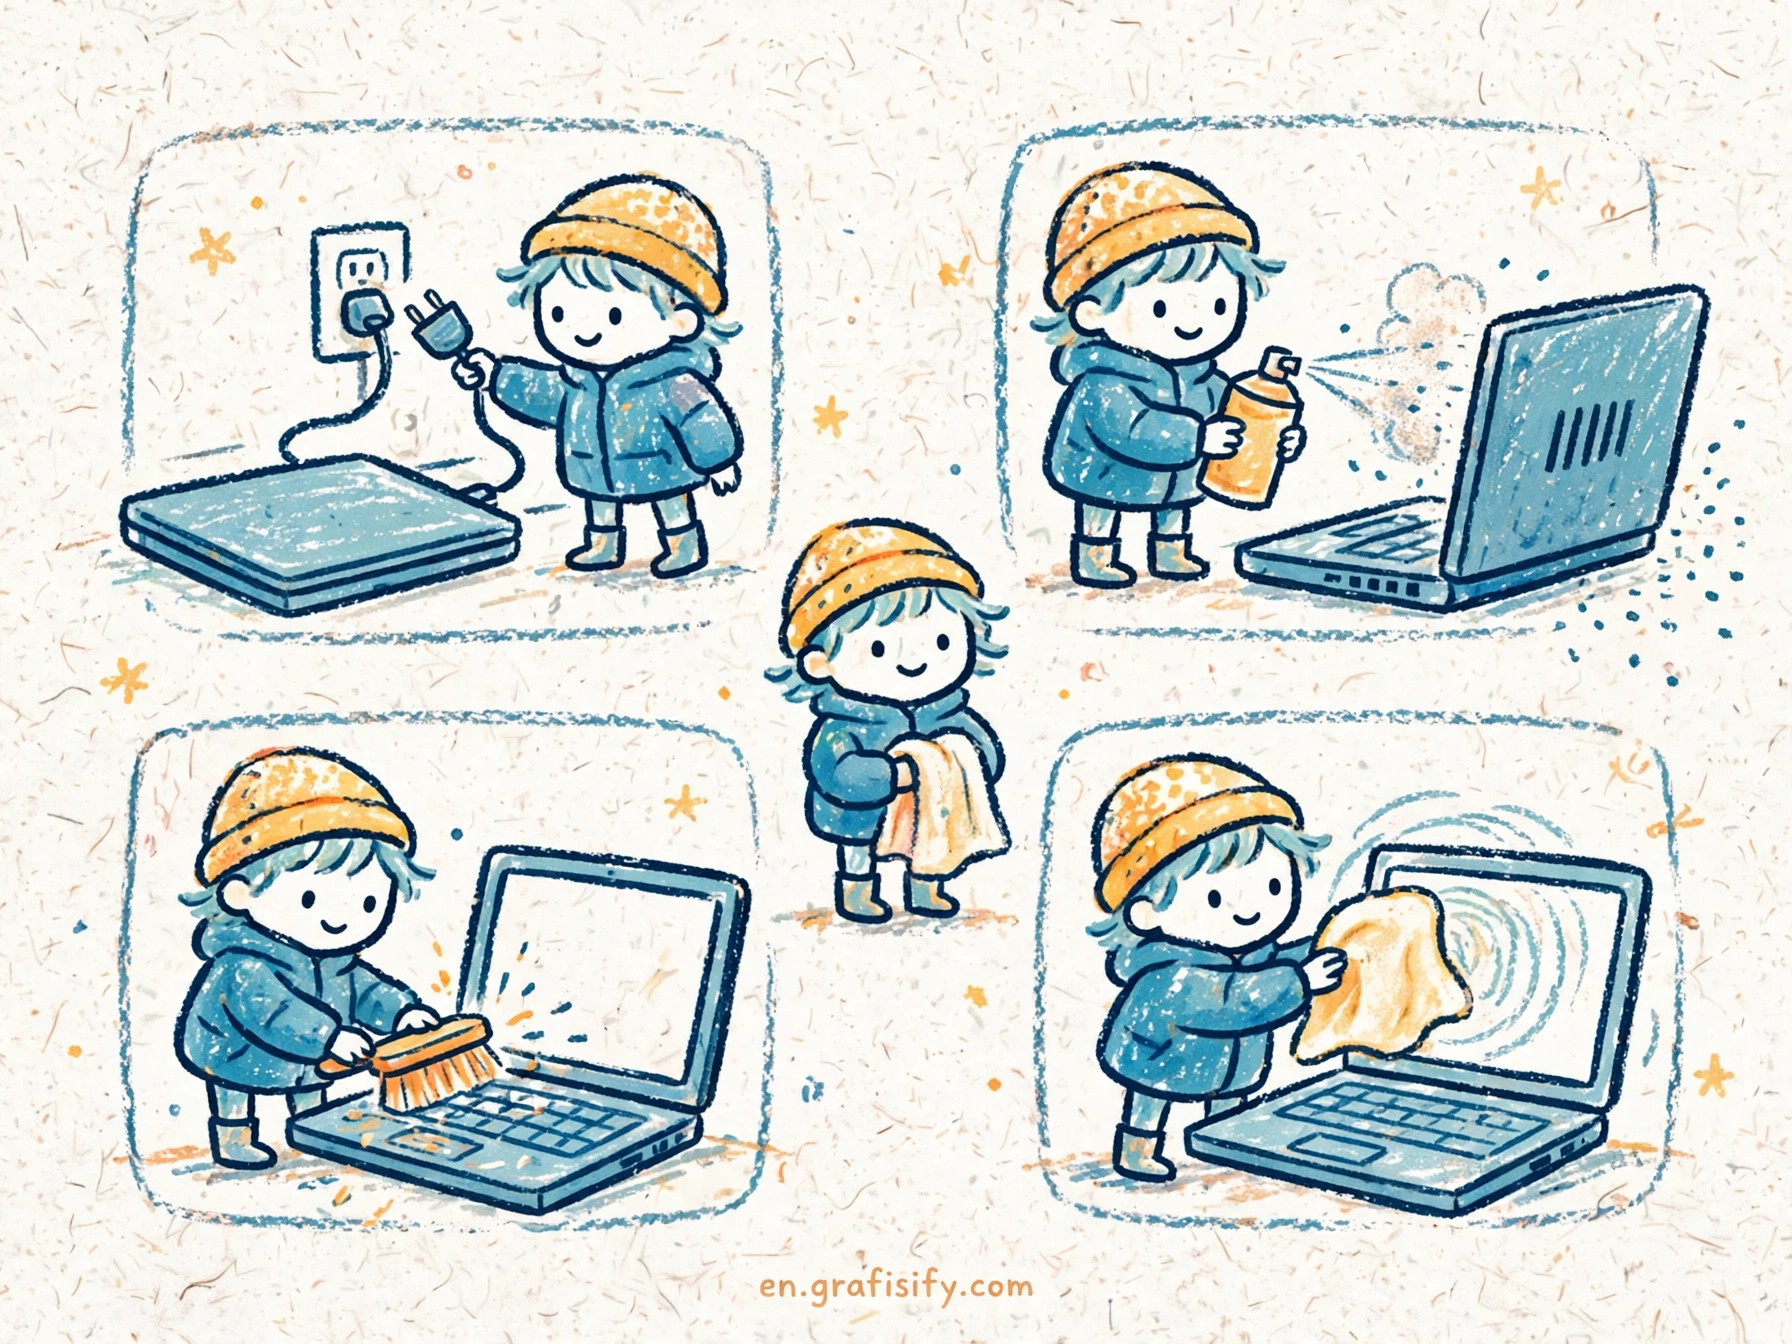
The rule that matters most is simple. Put the cleaner on the cloth, never on the laptop. Liquid that runs into a keyboard, a vent, or the edge of a screen is how a ten-minute tidy turns into a repair bill. Power the machine down, unplug everything, work gently, and let every surface dry before you close the lid or press the power button again.
If you take one habit from this guide, make it this one. Clean lightly and often, about every two weeks for the screen and keyboard, and give the vents a blast of air every few months. That rhythm prevents sticky keys, dull screens, and noisy fans.

Before You Touch Anything
Start by shutting the laptop down completely. Sleep mode is not enough, because a stray key press can wake the machine, trigger shortcuts, or start typing into an open document while you wipe the keys. Wait until the screen and indicator lights are fully dark, then disconnect the charger and every cable, drive, and dock.
Work on a clean, flat surface with good light. A dark screen makes smudges and dust far easier to see. Wash and dry your hands first, since skin oil is one of the main reasons screens and palm rests get grimy.
Gather your kit before you start so you are not tempted to improvise halfway through. You need two lint-free microfiber cloths, a can of compressed air or a small electronics duster, a soft brush, cotton swabs, and 70 percent isopropyl alcohol. That is the whole kit.
Also Read:
What to Use and What to Avoid
Not every cleaner that works on a kitchen counter is safe on a laptop. Screens carry thin anti-glare coatings, keycaps carry printed legends, and plastics can stain or go cloudy when they meet the wrong chemical. Makers including Lenovo warn against spraying cleaner directly onto a machine and against harsh solvents.
The safest all-round cleaner is 70 percent isopropyl alcohol applied to a cloth, not to the device. It cuts grease, evaporates quickly, and is accepted by every major laptop maker for keyboards and hard surfaces. For screens, plain water on a microfiber cloth handles most smudges, and a small amount of isopropyl alcohol on the cloth is fine for stubborn marks unless your maker says otherwise. Always check your own manual first, because a few models carry coatings with stricter limits.
| Cleaner or tool | Safe for most laptops | Notes |
|---|---|---|
| Microfiber cloth, dry or barely damp | Yes | The default tool for screens, keys, and lids |
| 70 percent isopropyl alcohol on a cloth | Yes | Damp, never wet; keep liquid out of gaps and ports |
| Compressed air, short bursts | Yes | Hold the can upright; never use a workshop air compressor |
| Distilled water on a cloth | Yes | Best for light screen smudges and daily wipe-downs |
| Ammonia glass cleaner or bleach | No | Can strip screen coatings and stain plastics |
| Paper towels or abrasive pads | No | Scratch screens and leave lint behind |
| Spraying liquid straight onto the laptop | No | Liquid seeps under keys and behind bezels |
Two common mistakes deserve a special warning. First, never invert a can of compressed air while spraying. A tilted can can release cold liquid propellant onto keys and plastics. Second, never use a garage air compressor on a laptop. Its pressure can pop keycaps off, and its tank can carry oil or moisture that you really do not want inside a machine.
For the full manufacturer guidance behind these rules, see Lenovo’s cleaning and maintenance guide, Lenovo’s laptop cleaning overview, and Lenovo’s keyboard cleaning guide. A clear independent walkthrough of the same principles is this safe cleaning guide for computers and devices.
Cleaning the Screen Without Streaks or Scratches
Power off first, for two reasons. A dark screen shows every fingerprint and dust speck, and a powered-off panel cannot register accidental touches while you work. Start with a dry microfiber cloth and wipe in one direction, top to bottom, with light pressure. Most dust and light smudges come off at this stage, and dry wiping is the gentlest thing you can do to a coating.
For marks that survive the dry pass, dampen a corner of the cloth with water or a small amount of 70 percent isopropyl alcohol. Wipe with the same light, straight strokes, then follow with a dry section of cloth to remove any moisture. Several light passes beat one hard scrub every time. Pressing hard on an LCD panel can distort the image or damage pixels, and scrubbing in circles tends to move grit around instead of lifting it off.
Never spray anything directly onto the screen. Liquid runs to the edges, seeps behind the bezel, and can leave stains or dead patches that no amount of wiping will fix. Keep the cloth barely damp. If you can squeeze liquid out of it, it is too wet. The same caution applies to touchscreen laptops. A damp cloth is fine, but pools of liquid near the hinge or the edge of the display are not.
Stubborn spots deserve patience, not force. Lay the damp cloth over the spot for a few seconds to soften it, then wipe gently. If a mark still will not move, leave it. A faint smudge you can only see at an angle is far better than a scratched coating you see all the time.
Cleaning the Keyboard and Touchpad
Keyboards collect crumbs, dust, skin oil, and whatever was on your hands at lunch. Start dry. Tilt the laptop slightly, hold it steady, and use short bursts of compressed air across the rows, moving left to right, then tilt it the other way and repeat. The angle matters. Air blown straight down can push debris deeper under the keys, while air across the rows gives it a route out.
Next, wipe the keys one row at a time with a microfiber cloth barely dampened with 70 percent isopropyl alcohol. Wipe each key top, not the gaps between them, and use a cotton swab dampened the same way for the edges and corners where grime collects. Let the keyboard air dry for ten to fifteen minutes before you power on. Alcohol evaporates fast, but liquid trapped under a keycap takes longer, and patience here costs nothing.
Do not pull laptop keycaps off unless your manual explicitly says they are removable and shows you how. Laptop key clips are small, fragile, and often impossible to buy as spare parts. A key that pops off and will not clip back on is a repair job, not a cleaning win. External keyboards are a different story, since most of their caps are designed to come off with a puller, but that freedom does not transfer to a built-in laptop keyboard.
The touchpad and palm rest get the same damp-cloth treatment. Wipe the touchpad with light, even strokes and dry it with a second cloth. If your touchpad starts registering phantom clicks or a sticky feel after cleaning, the usual cause is moisture still sitting at the edge, so give it more drying time before you worry about a fault. And if a key stays down, repeats characters, or stops working after dry cleaning, that points to a switch or connection problem, which is a job for a technician rather than a stronger cleaner.
A keyboard cover can help if you eat at your desk, but only use one made for your exact model. A loose cover traps heat and grit, and a cover that presses against the screen when the lid closes can leave marks on the display. For more on keeping the rest of the machine healthy, see our guide on why your laptop overheats and how to cool it down.
Vents, Ports, and the Outside of the Machine
Dust in the vents is not a cosmetic problem. It insulates components, blocks airflow, and forces fans to work harder, which is one of the fastest routes to a laptop that throttles under load and feels hot on your lap. Every few months, give the vents a few short bursts of compressed air from outside the machine, working from one side to the other. Hold the fan blades still with a toothpick or a soft brush if you can reach them through the grille, because letting a fan spin freely under compressed air can overspeed its bearings.
Do this outside or near an open window when you can. Keep the can upright, keep bursts under a second, and never poke anything metal into a vent. If the vents are still clogged after several passes, or the fan rattles after cleaning, stop and get the machine serviced.
Ports deserve a gentler touch. A dry soft brush or a short burst of air clears lint from USB ports and headphone jacks. Never use a metal pick, a toothpick with force, or a wet swab inside a port, and never blow into a port with your mouth, since moisture from your breath condenses on the contacts. For the lid and base, a damp microfiber cloth with a little isopropyl alcohol removes scuffs and sticker residue, but test any cleaner on a small hidden area first, especially on painted or soft-touch finishes.
While you are at the back of the machine, check the cables and charger too. Wipe the cable with a dry cloth, look for fraying near the connectors, and replace a damaged charger instead of taping it and hoping. A clean port is also a good moment to think about what you plug into it. If you are weighing accessories, our guide on how to choose a laptop docking station and our explainer on Thunderbolt versus USB4 ports can help you match the right gear to the ports you actually have.
When Something Spills on Your Laptop
A spill is the one cleaning job where speed matters more than technique. Power the laptop off immediately, unplug the charger, and disconnect everything. If it is already off, do not turn it on to check whether it still works. Turn the machine upside down in a tent shape so liquid drains out instead of deeper in, and blot what you can reach with a dry towel. Do not shake it violently, and do not use a hair dryer on a hot setting, which can push liquid further inside and warp plastics.
Leave the laptop open, upside down, in a dry room with good airflow for at least 24 to 48 hours. Rice does not help, and it can leave starch dust in ports and vents. Sugary drinks, coffee with milk, and salt water are worse than plain water, because they leave conductive residue behind even after they dry. If any of those went in, or if the machine was powered on during the spill, take it to a technician even if it seems fine. Corrosion can take days to show up, and a board that works today can fail next week.
Do not open the bottom panel yourself unless you know your model is user-serviceable and you have the right tools. Many modern laptops use glued batteries and fragile ribbon cables, and a well-meaning rescue can do more damage than the spill. If the laptop will not power on after a spill and drying, do not keep trying. Each attempt can short a wet circuit, so let a repair shop inspect it first. Our troubleshooting guide on what to do when a laptop will not turn on walks through the safe checks you can run before paying for a repair.
A Cleaning Schedule That Actually Sticks
The best schedule is the one you will follow, so tie cleaning to something you already do. A quick screen and keyboard wipe every two weeks takes under five minutes, and it stops the slow buildup that turns into a deep-cleaning project. Pair it with a Friday shutdown or a Monday morning setup, and it becomes a habit instead of a chore.
Vents and ports need attention every two to three months, more often if you work in a dusty room, keep pets nearby, or use the laptop on fabric surfaces like beds and sofas. A deep clean, meaning a careful pass over every surface plus a check of cables, charger, and hinges, fits naturally twice a year. Put a recurring reminder in your calendar, because the laptops that stay clean are rarely the ones whose owners remember on their own.
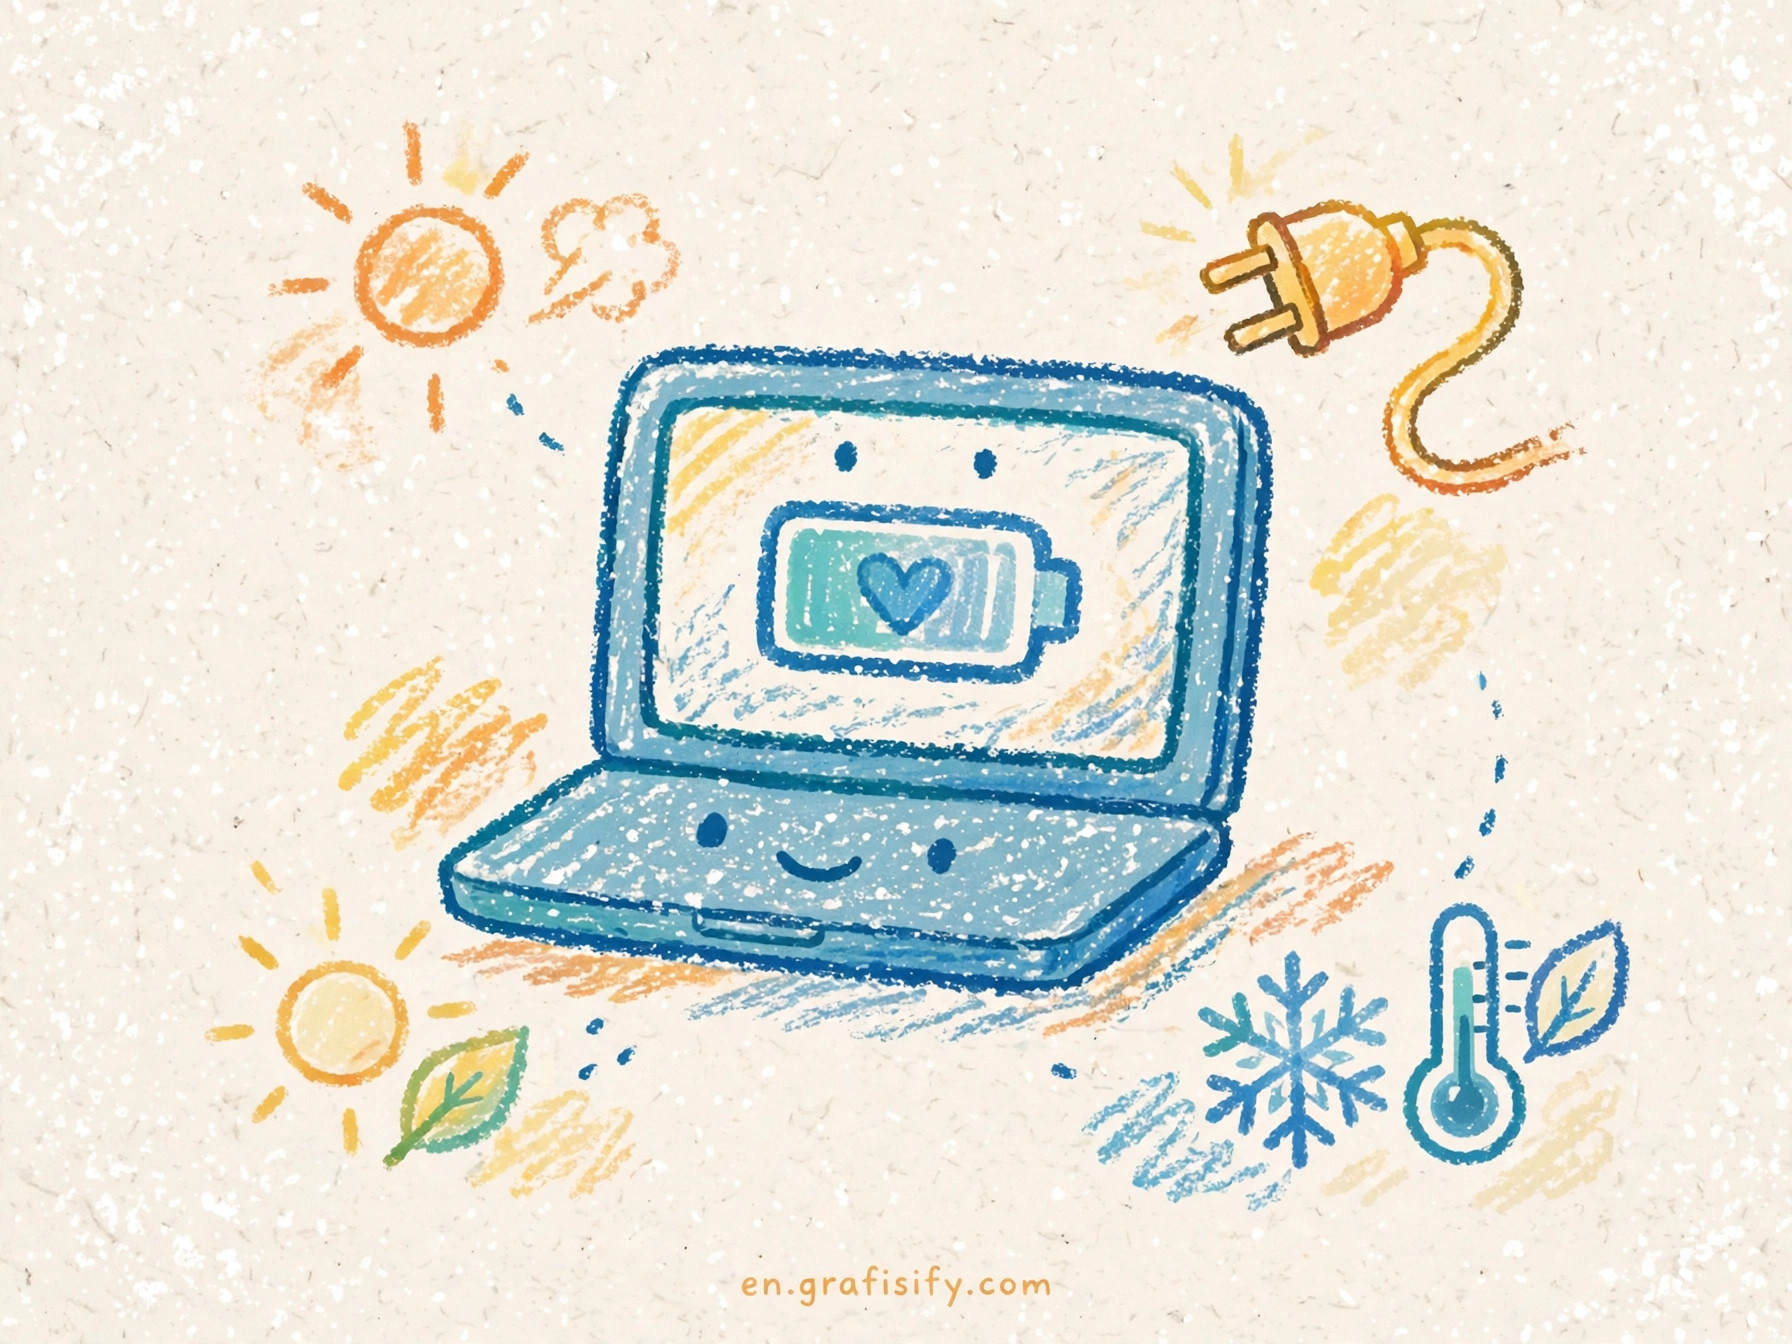
Prevention does most of the work for you. Keep food and drinks away from the keyboard when you can, and use the laptop on a hard, flat surface so the vents can breathe.
If you run Linux on your machine, the same cleaning rules apply, though your software tools for checking temperatures and fan speeds will differ. Our guide to Linux laptop compatibility covers the hardware side of that setup if you are planning a switch or a dual-boot install.
Common Questions
Can I use hand sanitizer or wet wipes on my laptop? Skip both. Hand sanitizer often contains moisturizers and fragrances that leave residue, and many wet wipes contain bleach, ammonia, or excess water. A cloth with 70 percent isopropyl alcohol does the same job without the extras.
How often should I clean my laptop? Wipe the screen and keyboard every two weeks, clean the vents every two to three months, and do a full pass twice a year. Heavy daily use, pets, or a dusty workspace all push you toward the more frequent end of that range.
Is it safe to use a vacuum cleaner on a keyboard? A small electronics vacuum on a low setting is fine, but a household vacuum can build static and its nozzle can catch keycaps. Compressed air is simpler, cheaper, and safer for most people.
What if my screen coating already looks damaged? Coating damage cannot be washed away, and polishing it will usually make it worse. A screen protector can hide light damage and prevent further wear, but deep scratches or cloudy patches are a repair or replacement decision.
Final Take: Keep It Clean, Keep It Running
Cleaning a laptop is maintenance, not magic. Done gently and regularly, it keeps the screen readable, the keys responsive, and the cooling system working the way the maker intended. Done carelessly, with sprays, soaking cloths, and pulled keycaps, it creates the very problems it was meant to prevent.
Start small this week. Power down, unplug, wipe the screen with a dry microfiber cloth, and give the keyboard a pass with compressed air. Five minutes is enough to notice the difference.

Irfan is a Creative Tech Strategist and the founder of Grafisify. He spends his days testing the latest AI design tools and breaking down complex tech into actionable guides for creators. When he’s not writing, he’s experimenting with generative art or optimizing digital workflows.





 Artificial Intelligent
 Design & Creative
 Freelance
 Gadgets & Gear
 Insights
 Laptop
 Reviews
 Smartphone
 Tech Guides
 Vibe Coding