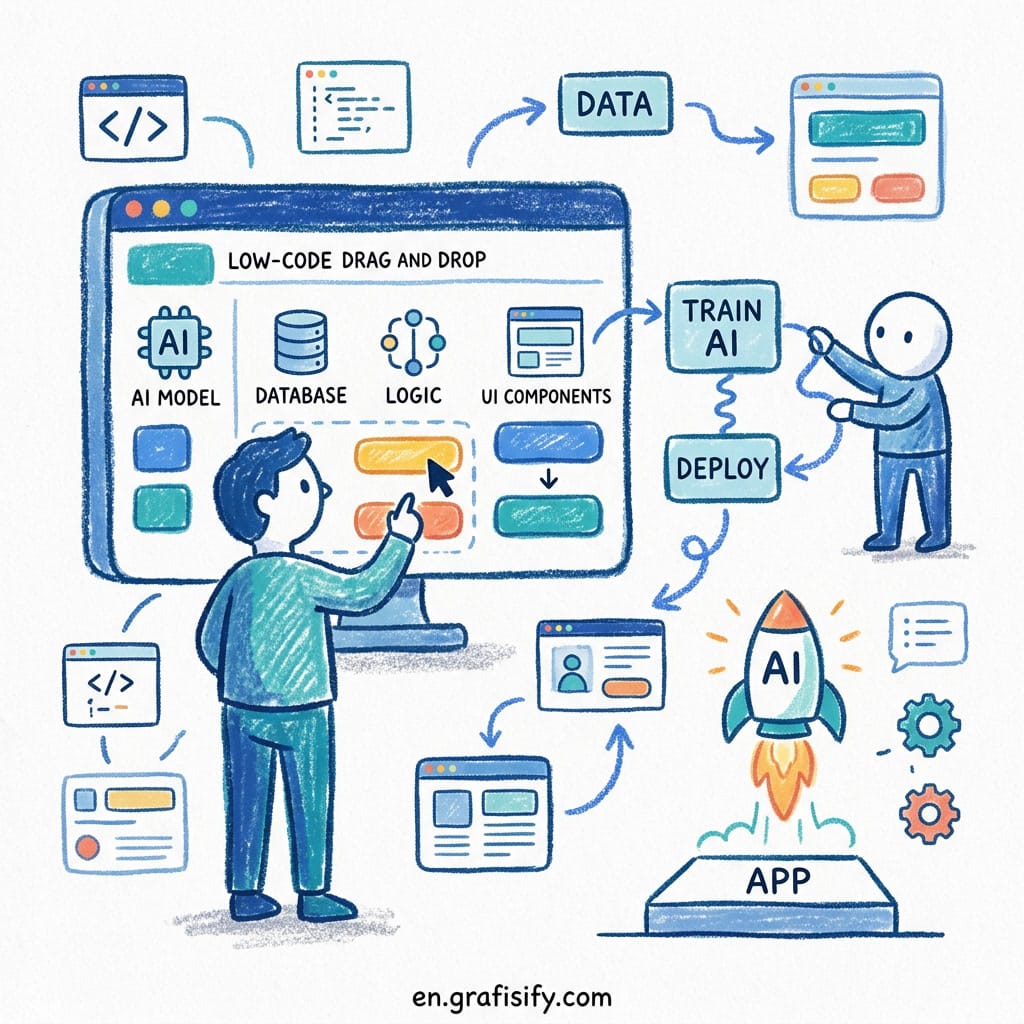
How to Set Up an AI Coding Assistant (Step-by-Step Guide for Solo Developers) — Part 1
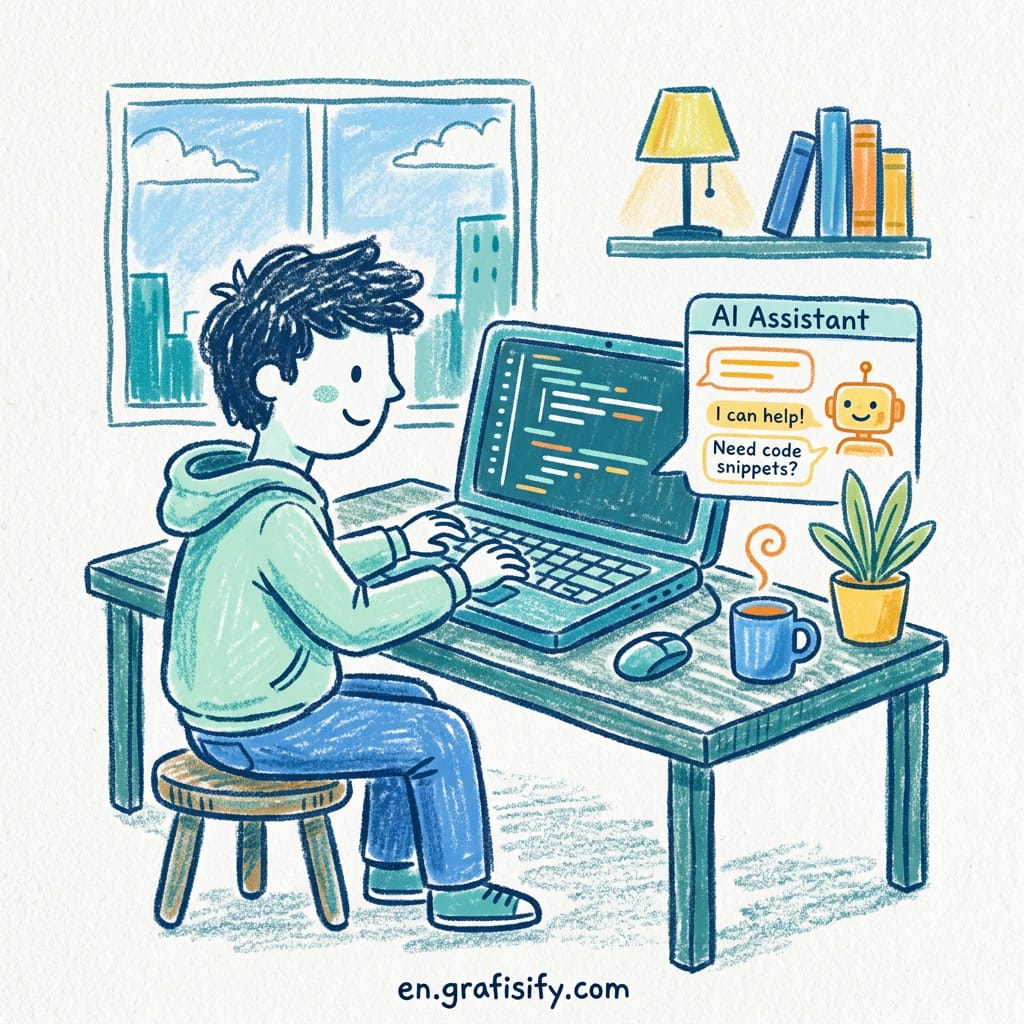
How to Set Up an AI Coding Assistant (Step-by-Step Guide for Solo Developers) — Part 1
This is Part 1 of our guide to AI coding assistants for solo developers. Continue to Part 2: AI Coding Assistant Advanced Workflows (for Solo Developers)
How to Set Up an AI Coding Assistant is simpler than you think. It takes about 10 minutes to install and another hour to configure properly. Getting it to actually ship code takes another hour. This guide walks through both. You’ll learn which tool fits your workflow, how to install it, and how to configure it so it understands your codebase. No fluff, no ranking lists. Just a practical setup you can finish in one sitting.
Solo developers face a unique challenge. You do everything. Write code, review it, deploy it, fix it when it breaks. There is no team to catch your mistakes or handle the boring parts. That is exactly where AI coding assistants shine. They don’t replace your judgment. They handle the scaffolding, the boilerplate, the tedious debugging loops, so you can focus on the architecture and logic that actually matter.
By the end of this guide, you’ll have a working AI coding assistant configured for your project, with the right settings, a proper project context file, and a clear strategy for using it effectively. You won’t give away your code or blow your budget.
How to Set Up an AI Coding Assistant: What You Need to Know
An AI coding assistant is a tool that understands, generates, and modifies code based on natural language instructions. Two main types exist today.
Autocomplete tools like GitHub Copilot and Tabnine suggest code as you type. They work inside your editor, predicting the next few lines based on context. Fast and helpful, but limited to line-level suggestions. Agentic tools like Claude Code and Cursor operate at a higher level. You describe what you want, and they read your files, write code, run tests, and iterate until the result works. They are more powerful, but they also need more guidance.
For solo developers, agentic tools are the bigger unlock. When you’re the only person on the project, every hour spent wiring up a CRUD endpoint or writing boilerplate tests is an hour you could spend on product logic. An agentic assistant handles that wiring while you stay at the architectural level.
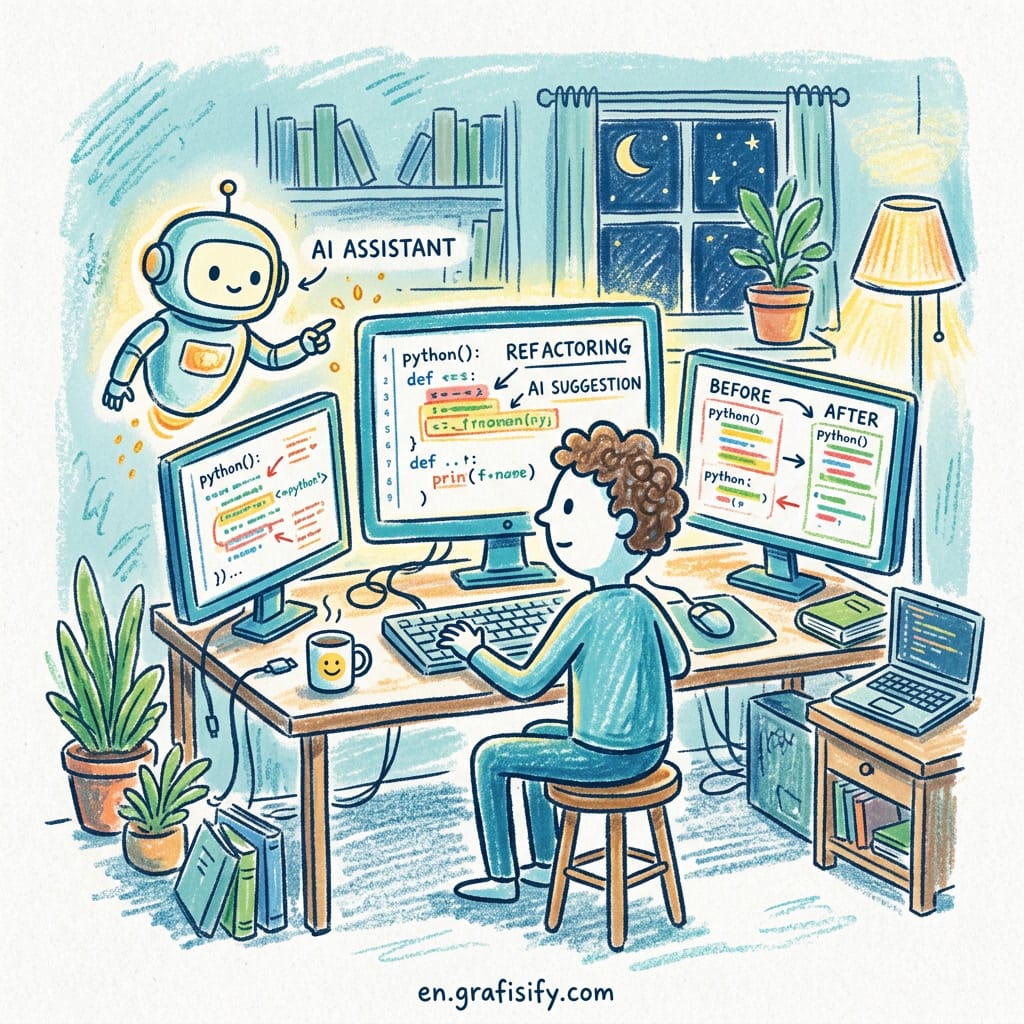
How to Set Up an AI Coding Assistant: Choosing the Right Tool

You don’t need every tool on the market. You need one that fits how you work. Here is a quick decision framework.
If you spend most of your time inside VS Code or JetBrains and want inline suggestions as you type, start with GitHub Copilot. It costs $10 per month for individuals and integrates with every major editor. If you want a terminal-based agent that can run commands, edit files, and execute tests autonomously, Claude Code is the current leader. It costs $20 per month with a Claude Pro subscription, or you can use it via the API for consumption-based pricing.
If privacy is a concern (maybe you work on proprietary code for clients), consider a local setup with Ollama. You run models like CodeLlama or DeepSeek Coder on your own machine. Quality is lower than cloud models, but your code never leaves your laptop. This matters for freelancers under NDA or anyone building competitive products.

The Ryz Labs team tested multiple setups and found that a well-configured AI coding assistant can accelerate development cycles by up to 50%. The key isn’t which tool you pick. It’s how you configure it for your specific workflow.
| Tool | Type | Pricing | Best For |
|---|---|---|---|
| GitHub Copilot | Autocomplete | $10/month | Inline code completion in editors |
| Claude Code | Agentic | $20/month (Pro) or API | Autonomous task execution in terminal |
| Cursor | Agentic + Editor | $20/month | AI-native IDE experience |
| Ollama + CodeLlama | Local (agentic) | Free | Privacy-sensitive projects |
| Tabnine | Autocomplete | $12/month | Enterprise-grade completions |
Prerequisites Before You Install
Before you install anything, get these three things ready. They save you from hitting roadblocks mid-setup.
One, a paid account. Most AI coding assistants offer free tiers, but they’re severely rate-limited. For real work, budget $10 to $20 per month. Claude Code, for example, requires at least a Claude Pro subscription at $20 per month. You can also use it with API keys if you prefer pay-as-you-go pricing.

Two, a real project to test with. Don’t test on a toy repository. Open your actual codebase. The one with the messy folder structure, the outdated dependencies, the half-finished feature. That is where an AI coding assistant proves its value. A toy project makes any tool look good. A real project shows you where it actually helps and where it struggles.
Three, a terminal and a modern editor. VS Code is the safest bet. It works with every tool listed above. If you prefer JetBrains, most tools support it too, but check compatibility first. Claude Code runs entirely in the terminal and works with any editor, including Neovim and Emacs.
Step-by-Step Installation and First Run
Let me walk you through installing Claude Code as an example of how to set up an AI coding assistant. It represents the most powerful category of AI coding assistants. The same principles apply to Cursor and other agentic tools.
Step 1: Install the CLI. Open your terminal and run the official installer:
curl -fsSL https://claude.ai/install.sh | bash
Or if you prefer npm: npm install -g @anthropic-ai/claude-code
Step 2: Authenticate. Navigate to your project folder and run claude. The CLI will prompt you to log in. Use /login to authenticate with your Anthropic account. This links your subscription.
Step 3: Create a CLAUDE.md file. This is the single most important configuration step. CLAUDE.md tells the assistant about your project conventions, tech stack, and preferences. Place it in your project root. Here is a minimal template:
# Project Overview
This is a Next.js 14 application with TypeScript and Prisma ORM.

# Coding Conventions
- Use functional components with hooks, not class components
- Prefer async/await over .then() chains
- Write tests in Vitest, not Jest
- Use environment variables from .env.local for secrets
Step 4: Run your first task. Give the assistant something small but real. Something like “Add input validation to the signup form and write tests for the three most common error cases.” Watch how it approaches the problem. Check its edits. This first task teaches you how to prompt effectively. Specific instructions get better results than vague asks.
Step 5: Review everything. Agentic tools make mistakes. They hallucinate APIs that don’t exist. They introduce subtle bugs. They sometimes delete code they shouldn’t touch. Always review diffs before accepting changes. Think of the AI as a very fast junior developer who needs supervision on every pull request.
How to Configure Your Assistant for Real Productivity

Installation is the easy part of how to set up an AI coding assistant. Configuration is what separates a useful setup from a frustrating one.
Project context is everything. The CLAUDE.md file (or similar context file for other tools) is where you teach the assistant about your project. Include your tech stack, folder structure, naming conventions, testing framework, and any gotchas a new developer would need to know. The more you put in here, the fewer wrong guesses the assistant makes. Justin McKelvey, a fractional CTO who ships client work with Claude Code daily, considers the CLAUDE.md file the single most important setup step.
Set up MCP servers for tool access. MCP (Model Context Protocol) servers give your assistant access to external tools like databases, APIs, and file systems. For a solo developer, the most useful MCP servers are a file system server for reading project files and a database server for schema exploration. Don’t add every MCP server you find. Add only the ones your project actually needs. Each extra server adds latency and potential confusion.
Configure your rate limits and budget. If you’re using API-based pricing, set a monthly spending cap. It is easy to let an agent run wild on a complex refactor and burn through $50 in an hour. Most tools let you set a hard limit. Use it.
Customize your prompts. Create a set of reusable instructions for common tasks. For example, “Write this feature following our existing patterns. Use the same error handling approach as auth.ts. Add comments only for non-obvious logic.” This saves you from repeating yourself every time.
From Autocomplete to Full Agentic Workflows
Most developers start with autocomplete and never graduate to agentic workflows. That is a missed opportunity.
Autocomplete tools are great for what they do. Completing the line you’re typing. Suggesting the next function call. Filling in boilerplate. They reduce friction during active coding. But they don’t change the fundamental workflow. You still write every line. You still debug every error. You still own every decision.
Agentic tools change the workflow entirely. You describe the outcome, and the tool figures out the implementation. Here is how you can use them in practice as a solo developer building client projects.
For new features, I describe what the feature should do, which files to touch, and what the acceptance criteria are. The agent writes the implementation, runs the tests, and iterates on failures. I review the diff, make adjustments, and move on. A feature that used to take four hours takes one.
For debugging, paste the error trace and describe what you expected to happen. The agent reads the relevant files, traces the logic, and proposes a fix. This alone saves me hours of printf debugging every week.
For refactoring, specify the target structure and let the agent handle the mechanical work. Renaming variables, extracting functions, moving files between folders. These are tedious but perfect for automation.
You need to verify everything, though. Agentic tools are confident and wrong about 15 to 20 percent of the time. That is fine. You are the senior developer reviewing the junior’s work. The speed gain comes from the 80 percent that’s correct on the first try.
Common Pitfalls and How to Avoid Them

After setting up AI coding assistants for myself and talking to other solo developers, these are the most common mistakes.
Pitfall 1: No context file. The single biggest mistake is skipping the project context file. Without it, the assistant guesses your conventions. It uses tabs instead of spaces. It writes tests in a framework you don’t use. It suggests patterns that don’t fit your architecture. Fix this by writing a CLAUDE.md or similar file before your first real task.
Pitfall 2: Letting the agent run unchecked. Agentic tools can execute terminal commands and modify files autonomously. Powerful and dangerous. Always review changes before accepting them. Use the diff view. Run the tests. Don’t trust the assistant’s claim that everything works. Verify it.
Pitfall 3: Bill shock. API-based pricing adds up fast. A single complex refactor can consume hundreds of thousands of tokens. Set a monthly budget cap and monitor your usage weekly. If you are a freelancer on a tight budget, Claude Pro at $20 per month gives predictable pricing with reasonable limits.
Pitfall 4: Giving up after the first bad result. AI coding assistants aren’t magic. Your first prompt will produce mediocre code. Your tenth will be better. Your fiftieth will feel like a superpower. The skill is in learning how to describe what you want precisely. Treat the first few sessions as training, not production work.
Pitfall 5: Sharing proprietary code. Cloud-based tools process your code on external servers. If you work under NDA or build proprietary products, check the tool’s data handling policy. GitHub Copilot offers a no-code-storage mode for enterprise plans. For maximum privacy, use a local setup with Ollama.
Final Thoughts
An AI coding assistant isn’t a replacement for understanding code. Learning how to set up an AI coding assistant properly is a force multiplier for the knowledge you already have. The solo developers who benefit most aren’t the ones who hand off entire features to the AI. They are the ones who use the AI to handle the mechanical parts of development so they can focus on the parts that require real judgment.
Start with one tool. Now that you know how to set up an AI coding assistant, install it today. Give it a real task on your actual project. Fix the context file until the assistant stops making obvious mistakes. Then gradually expand what you delegate. Within a week, you’ll wonder how you worked without it.
If you want to compare agentic tools before committing, read our AI Coding Agents Complete Beginner Guide for a deeper look at how each tool handles real-world tasks. For more on configuring your development environment, check out Justin McKelvey’s detailed Claude Code setup guide and the Ryz Labs productivity setup walkthrough.


Irfan is a Creative Tech Strategist and the founder of Grafisify. He spends his days testing the latest AI design tools and breaking down complex tech into actionable guides for creators. When he’s not writing, he’s experimenting with generative art or optimizing digital workflows.
You might also like





 Artificial Intelligent
 Design & Creative
 Freelance
 Gadgets & Gear
 Insights
 Laptop
 Reviews
 Smartphone
 Tech Guides
 Vibe Coding