7 Crucial Tips for Buying Used PC Parts and Spotting Refurbished Units
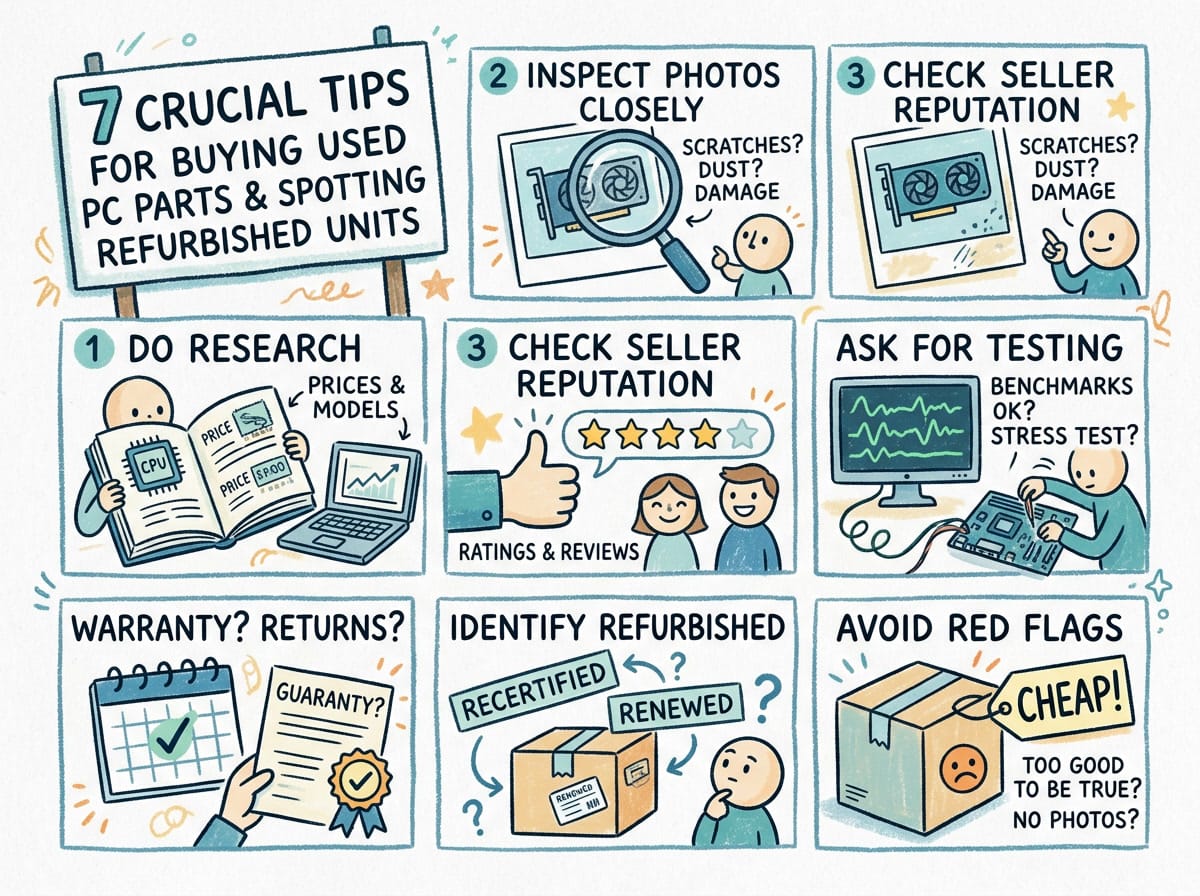
Quick Summary: Buying pre-owned hardware can save you a fortune, but the market is rife with former mining GPUs and disguised refurbished units. By using specific diagnostic software and visual checks, you can verify component health and lifespan. This guide outlines the essential tests to ensure your bargain doesn’t turn into a paperweight.
What are Used PC Parts?
Used PC parts refer to second-hand computer hardware components—such as CPUs, GPUs, RAM, and storage drives—that have been previously owned and operated. Unlike “refurbished” items which are ostensibly repaired and tested by a manufacturer, used parts are typically sold “as-is” by individuals, making software verification critical to confirm they aren’t nearing the end of their lifecycle.
7 Steps to Inspect Hardware and Avoid Bad Units
1. Analyze Storage Health with CrystalDiskInfo
When buying storage, the biggest fear is getting a drive that has been “wiped” and sold as new or lightly used. Using CrystalDiskInfo is the gold standard here. This software reads the S.M.A.R.T. data of the drive. You aren’t just looking for a “Good” health status; you need to investigate the “Power On Count” and “Power On Hours.”
If a seller claims a drive is “pulled from a new laptop” but the software shows 10,000 power-on hours, you are looking at a heavily used PC part that may fail soon. Furthermore, check for “Reallocated Sector Count.” Any number above zero here indicates the drive is physically degrading and should be avoided entirely.
2. Detect Fake GPUs with GPU-Z
The second-hand market is flooded with “fake” graphics cards—older, weaker cards that have their BIOS flashed to report a newer model name to the operating system. To avoid this scam, you must run GPU-Z. This lightweight utility does a deep dive into the card’s architecture.
If GPU-Z detects a discrepancy between the hardware capabilities and the BIOS name, it will often display a “FAKE” warning explicitly in the name field. Additionally, check the “Shaders” count and “Memory Type” against the official specs on a site like TechPowerUp. If the specs don’t align perfectly, walk away.
3. Stress Test the CPU with Cinebench or Prime95
A CPU might boot into Windows fine but crash under load. Before handing over cash for used PC parts, run a 10-minute loop of Cinebench R23. This renders a complex 3D scene that utilizes every core of the processor.
Watch the temperatures using HWMonitor during this test. If the CPU instantly hits 100°C and throttles, it could be a sign of a degraded heat spreader or previous abuse (like poor overclocking). If the system freezes or crashes (Blue Screen of Death) during the render, the silicon is unstable.
 6")
4. Verify RAM Integrity with MemTest86
Bad RAM is insidious because it causes random, hard-to-diagnose crashes. Verification here requires patience. MemTest86 is a tool you boot from a USB drive. It writes patterns of data to the memory and reads them back to check for errors.
Even a single error in MemTest86 is a fail. There is no such thing as “a little bit broken” when it comes to memory. If you are buying a used kit, ensure the seller allows you to see the system running or provides a screenshot of a completed, error-free MemTest run.
5. Stress Test the GPU for Artifacting
Beyond checking if a GPU is fake, you need to know if the VRAM is dying, especially if the card was used for cryptocurrency mining. Tools like FurMark or Unigine Superposition put the card under extreme thermal load.
 7")
Watch the screen closely for “artifacts”—weird flashes of color, snow-like static, or tearing geometries. These are symptoms of failing video memory. If the card runs hot but stable without visual glitches for 15 minutes, it’s likely a safe buy. For more on the technical aspects of stress testing, you can refer to this Wikipedia entry on Hardware Stress Testing.
6. Check for Physical “Serviced” Signs
Software can tell you a lot, but your eyes are just as important. Inspect the PCB (Printed Circuit Board) for discoloration. Darker or brownish spots, particularly on the back of a GPU or motherboard, indicate excessive heat exposure over long periods.
Look for “warranty void” stickers that have been pierced. While authorized repairs are fine, a broken seal on used PC parts often means an amateur attempted a fix (like the “oven bake” method to temporarily fix a dead GPU) or replaced thermal paste poorly.
Also Read:
7. Verify Serial Numbers and Receipts
Finally, cross-reference the digital serial number found in software (like Command Prompt `wmic bios get serialnumber`) with the physical sticker on the hardware. If they don’t match, the board may have been swapped or the BIOS forced onto incompatible hardware.
Ask the seller for the original purchase receipt. This helps verify the age of the component and determines if any manufacturer warranty remains transferable to you. A seller unwilling to share the history of the part is a major red flag.
Advanced Strategies: Spotting Ex-Mining Gear
Buying a GPU that was used for mining isn’t always a bad deal, but you must be aware of it. Miners often undervolt their cards (which is good) but run the fans at 100% speed 24/7 (which is bad). When inspecting used PC parts from a suspected miner, pay close attention to the fans.
Spin the fans with your finger while the card is off. They should spin freely and stop gradually. If they stop instantly or make a grinding noise, the bearings are shot. While fans are replaceable, it’s an added cost and hassle you should negotiate into the price.
Pros & Cons of Buying Used
✅ The Good
- Significant cost savings, often 30-50% off retail prices.
- Access to high-end legacy hardware that is no longer in production.
- Environmentally friendly by extending the lifecycle of electronics.
❌ The Bad
- Lack of manufacturer warranty or return policies.
- Risk of “Dead on Arrival” components or hidden defects.
- Time-consuming to properly test and verify stability.
Final Thoughts
Building a PC with second-hand components is a rite of passage for many enthusiasts. It allows you to punch above your weight class in terms of performance per dollar. However, diligence is the price of admission. By utilizing diagnostic tools like CrystalDiskInfo and GPU-Z, you strip away the seller’s marketing and see the naked truth of the hardware.
Don’t be afraid to ask the seller for benchmark screenshots or a live video call demonstration before meeting up. A legitimate seller has nothing to hide. Read our related guide on how to stress test your newly built PC to ensure rock-solid stability.
Tagged with:
Budget PCComputer PartsCrystalDiskInfoGPU CheckHardware DiagnosticsHardware ScamPC buildingTech Guidetech tipsUsed ElectronicsIrfan is a Creative Tech Strategist and the founder of Grafisify. He spends his days testing the latest AI design tools and breaking down complex tech into actionable guides for creators. When he’s not writing, he’s experimenting with generative art or optimizing digital workflows.
You might also like


 Artificial Intelligent
 Design & Creative
 Freelance
 Gadgets & Gear
 Insights
 Laptop
 Reviews
 Smartphone
 Tech Guides
 Vibe Coding